

The failure this guide is built around is simple: the polished AI headshot stops looking like the person in the reference photo.
That is not a taste problem. LinkedIn states that a profile image may be an illustration, a caricature, or another artistic rendering, but that it must reflect your likeness.
It also says it may remove photos that do not comply with its policies, including images consisting solely of things like logos, landscapes, animals or other people’s likenesses.
So recognisability is the gate, and polish is what happens after the gate.
The second failure is quieter. The word “resume” sits in this query, and most people who reach it are about to put a photo somewhere it does not belong.
Every prompt below is a copy-paste editing template built for a reference photo you are permitted to use. They are editorial templates derived from documented editing controls in the OpenAI, Google, and Midjourney documentation, and from LinkedIn’s own published requirements.
None of them was executed in a product account for this guide, so nothing here claims an observed output.
In This Article (16 sections)
Quick Copy: The AI Headshot Pre-Flight Checklist
Copy this before you paste any prompt. Ten of the eleven items cost nothing, and they prevent avoidable rework.
| # | Check | Confirm before you generate |
|---|---|---|
| 1 | Permission | The reference photo is yours, or you have permission to use that person’s likeness |
| 2 | Destination | You know whether this is for LinkedIn, a team page, a speaker bio, a portfolio, or a genuine resume exception |
| 3 | Reference quality | The face is in focus, evenly lit, unobstructed, and large in the frame |
| 4 | Reference honesty | The photo is recent enough that the result will still read as you |
| 5 | Identity list | You can name the features that must survive: age, face shape, skin tone, eye colour, hairline, hairstyle, glasses, facial hair |
| 6 | Change list | You can name what is allowed to change: clothing, background, lighting, crop, expression |
| 7 | Tool mode | Your tool is in an image-editing mode that accepts an uploaded reference, not text-to-image |
| 8 | Reference roles | If you upload more than one image, each one has a stated job |
| 9 | Crop headroom | You asked for a chest-up or head-and-shoulders frame with room to crop, not a tight face fill |
| 10 | Finish limit | The prompt asks for realistic skin texture and restrained retouching |
| 11 | Rejection rule | You have decided in advance to reject any result that no longer reads as you |
Item 1 is the only one with an official instruction behind it. OpenAI’s own prompting guidance tells users generating images of real people to use a reference photo for accuracy and to make sure you have permission to use that likeness.
If item 7 already reads like more work than you want, stop here. An AI headshot generator does the same job with presets, and the rest of this guide is for people who would rather control the edit themselves.
Two rules decide where the finished file may go, and both are cheaper to learn now than after thirty generations.
LinkedIn accepts an artistic rendering of you, but the image has to reflect your likeness. For an ordinary US application, Indeed’s career guidance is that most career experts recommend leaving a photo off a resume entirely.
Both are unpacked with their sources, the destination matrix and LinkedIn’s file requirements under Two Rules That Decide Where This Photo Can Go, further down.
30 AI Headshot Prompts
Every template below is written for an editing workflow: attach a reference photo you are permitted to use, then paste the prompt. Each carries a best-for line so you can pick without reading all thirty.
Prompts 1 to 8 cover the common LinkedIn cases, and 9 to 18 are role-specific.
Prompts 19 to 23 change the background and finish, 24 to 27 handle teams and job searches, and 28 to 30 repair a result that is close but wrong in one place.
Every prompt already carries its own preserve list, so none of them needs the sections below to work.
Read Choose the Right Prompt for the background and tone decision. Read The Prompt Formula if you want to write your own.
LinkedIn Core Prompts
1. Classic Corporate. Best for LinkedIn, formal company profiles, and finance-adjacent business roles.
Use the uploaded reference photo as the identity source. Create a polished head-and-shoulders professional portrait with the same recognizable facial identity, age, skin tone, eye color, hairstyle, and facial proportions. Dress the person in a tailored navy blazer over a crisp white shirt. Use a clean soft-gray studio background, soft diffused key light, natural skin texture, direct eye contact, and a calm approachable expression. Change only clothing, background, lighting, and portrait polish; do not redesign the face.
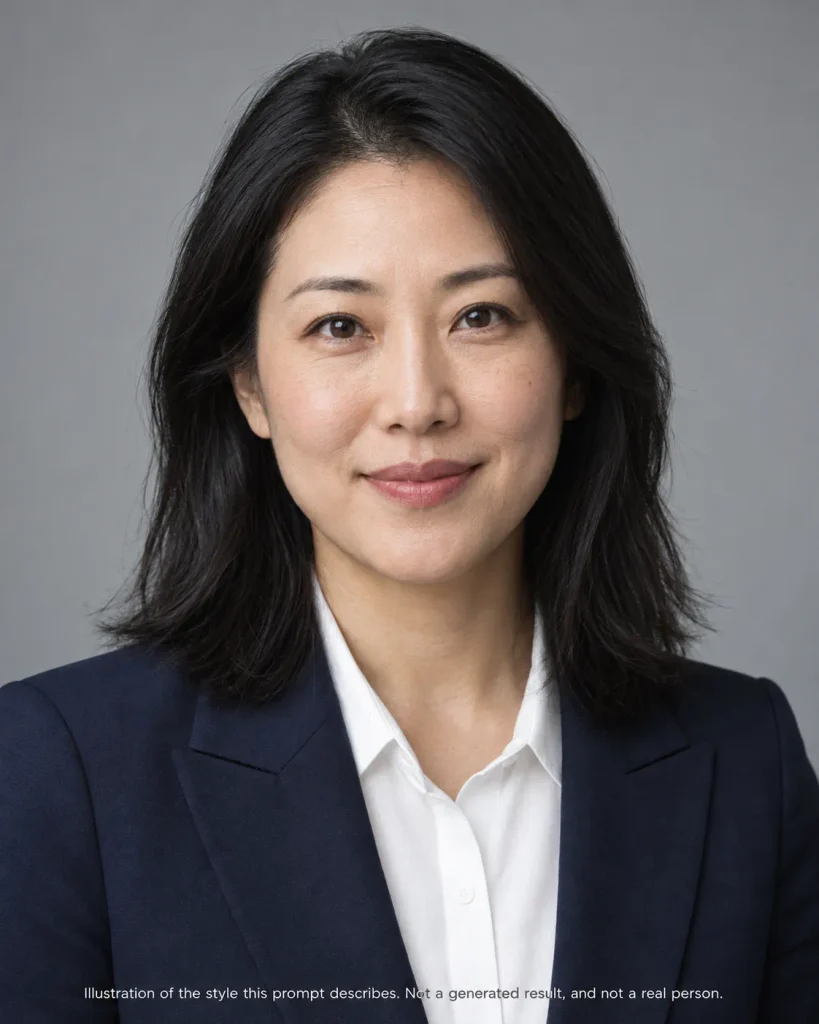
2. Modern Business Casual. Best for SaaS, consulting, operations, and customer-facing professionals. This is the default I would reach for first.
Edit the uploaded reference photo into a modern business-casual headshot while keeping the person clearly recognizable. Use a charcoal unstructured blazer over a plain crew-neck top, relaxed shoulders, a subtle natural smile, and a softly blurred bright office background. Use gentle window-style light, realistic skin texture, restrained retouching, and a chest-up crop. Preserve facial proportions, age, hair, eye color, and defining features; change only styling, setting, light, and crop.
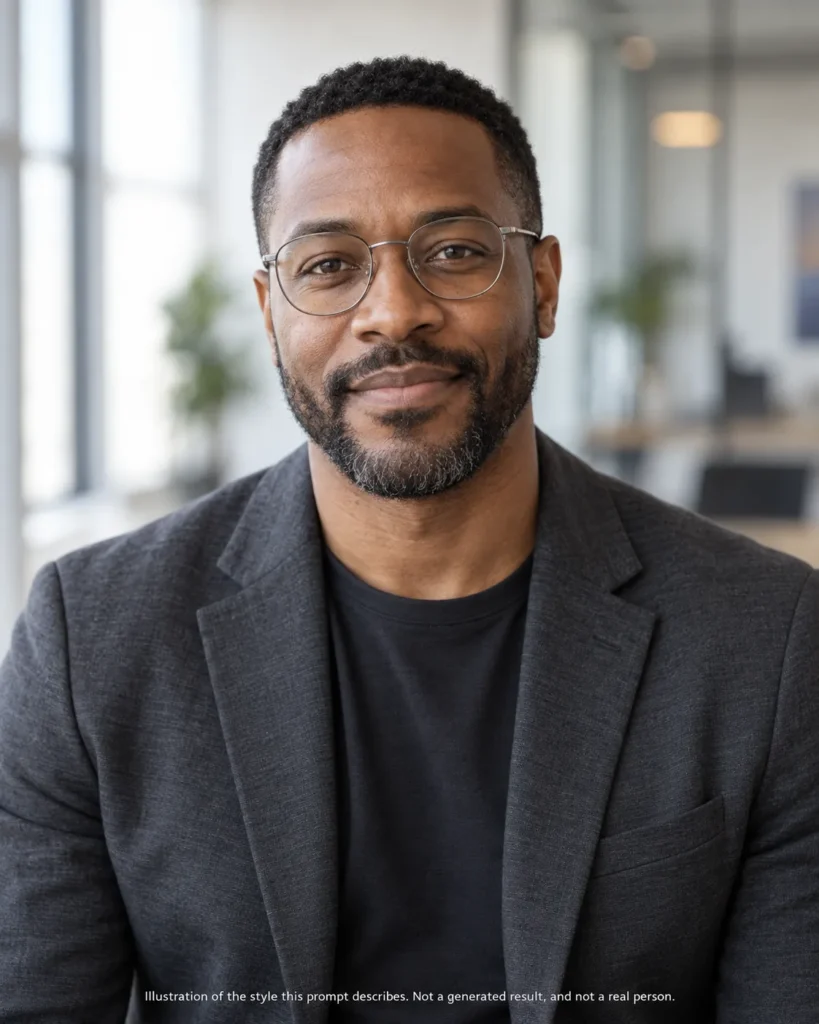
3. Tech Founder. Best for startup founders, product leaders, and indie builders.
Turn the uploaded reference photo into an approachable tech-founder headshot. Preserve the same recognizable face, age, hairstyle, skin tone, eye color, and defining features. Use a dark overshirt or minimalist blazer over a plain T-shirt, relaxed confident posture, soft natural light, and a clean modern workspace blurred in the background. Keep the image contemporary and credible rather than glamorous, with natural texture and no heavy beauty retouching.
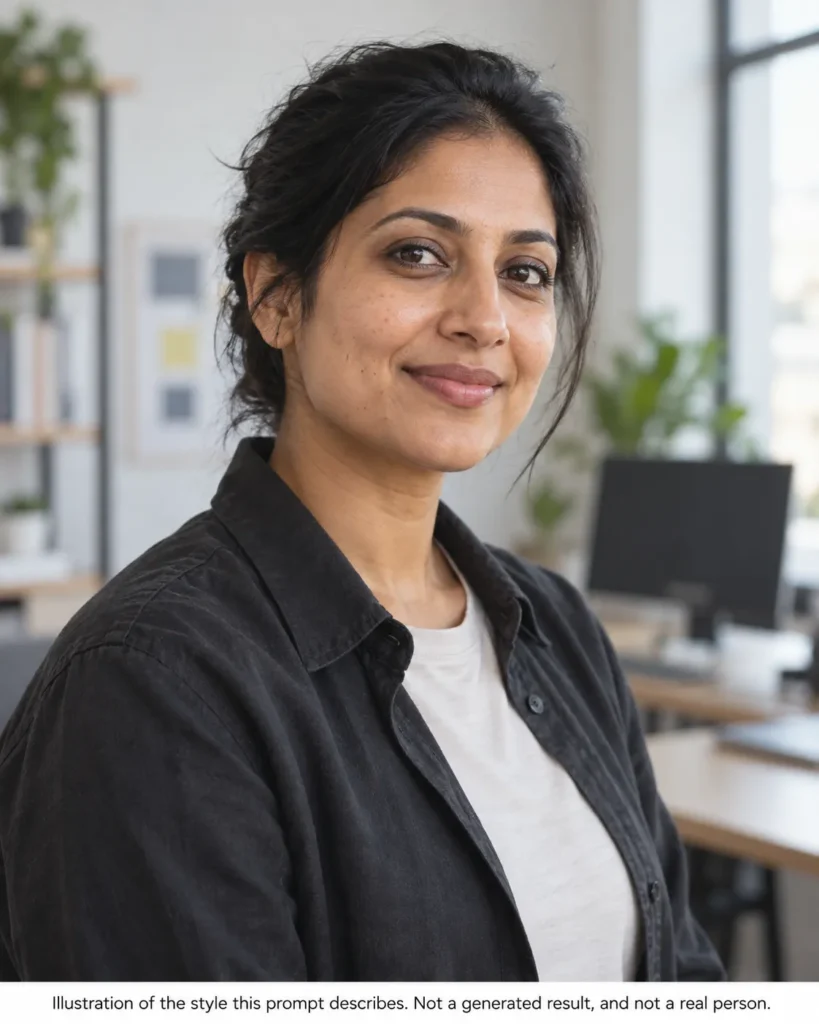
4. Executive Leadership. Best for executives, leadership pages, and board profiles.
Create an executive professional portrait from the uploaded reference photo while preserving the person's recognizable identity and natural age. Use a dark tailored suit or refined blazer, composed posture, direct eye contact, and a neutral confident expression. Place the subject against a deep charcoal studio background with controlled soft key light and subtle separation from the background. Keep skin texture realistic and facial features unchanged; do not add dramatic fashion styling or alter face shape.
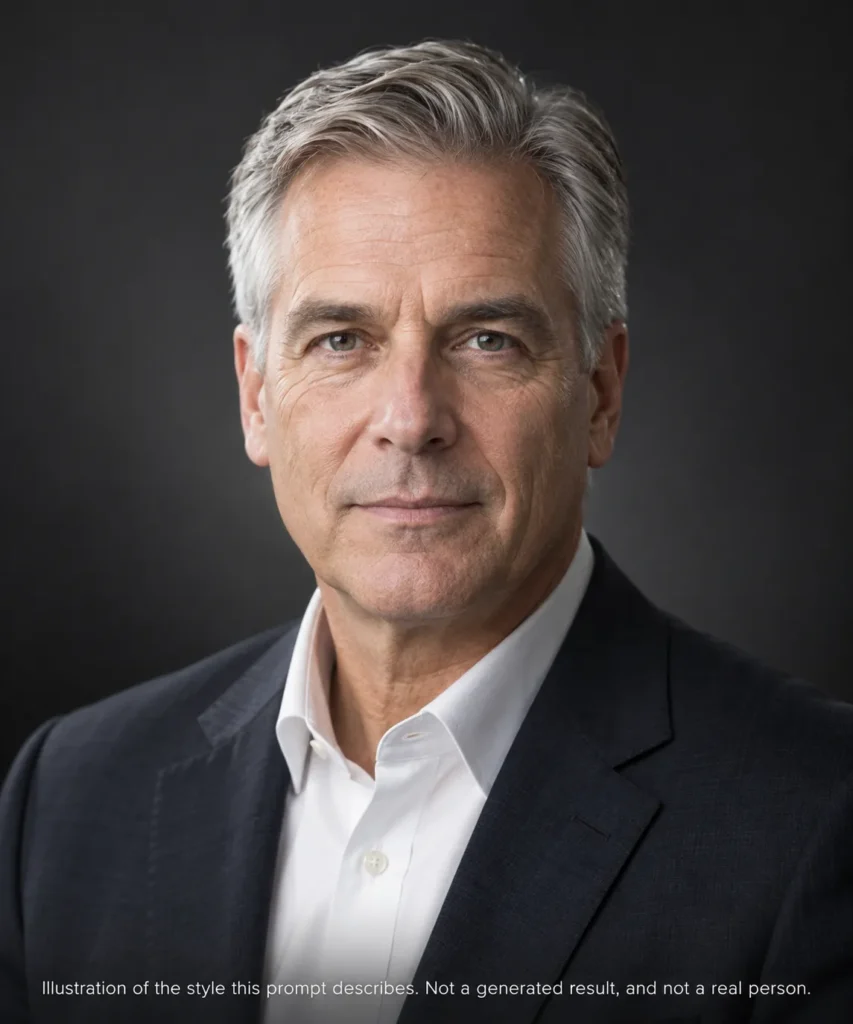
5. Recruiter and HR. Best for recruiters, people operations, and talent leaders.
Edit the uploaded reference into a warm, trustworthy professional headshot. Keep the person's recognizable facial identity, age, hair, eye color, skin tone, and natural facial proportions unchanged. Use a light neutral blazer or polished smart-casual top, open shoulders, a genuine friendly smile, soft even lighting, and a clean off-white background. Aim for approachable professionalism, realistic skin, clear eyes, and simple styling without excessive retouching.
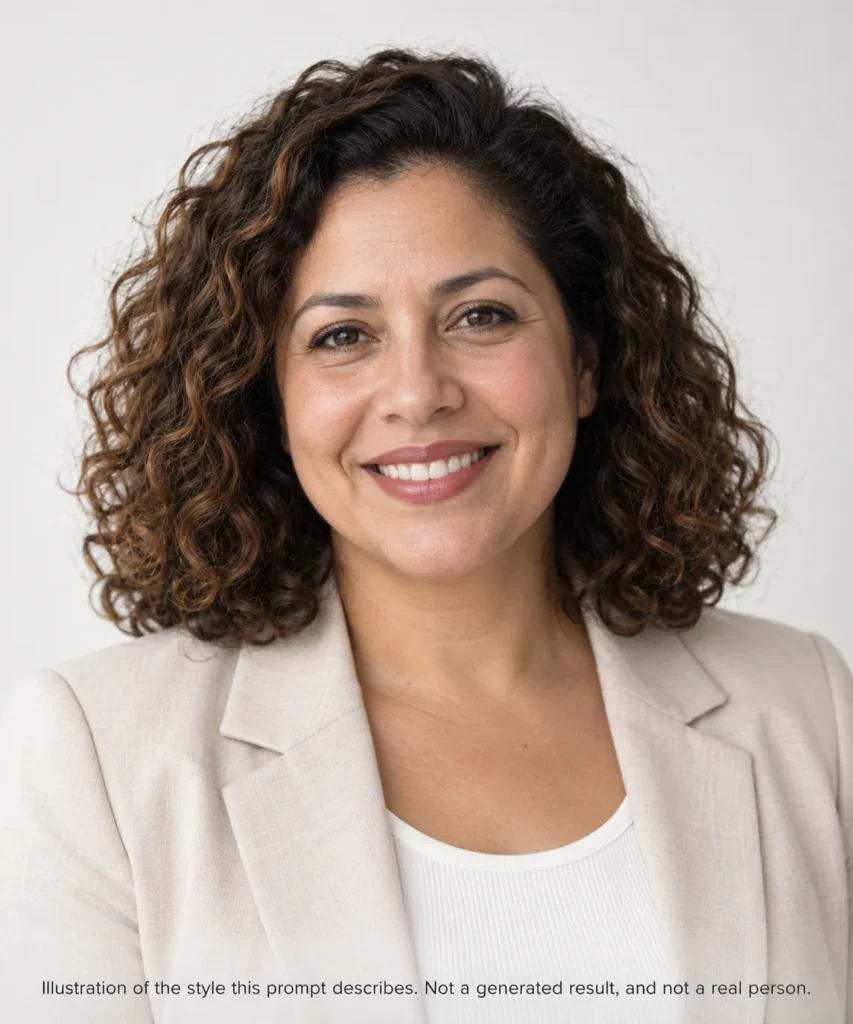
6. Consultant. Best for management consultants, advisors, and fractional leaders.
Create a credible consultant headshot from the uploaded reference photo. Preserve the person's recognizable face and all defining identity features. Use a navy or charcoal blazer with an open-collar shirt, upright but relaxed posture, direct eye contact, and a slight confident smile. Use a neutral warm-gray background with soft diffused studio light and natural skin texture. Keep the result understated, polished, and realistic; change only attire, background, lighting, and crop.
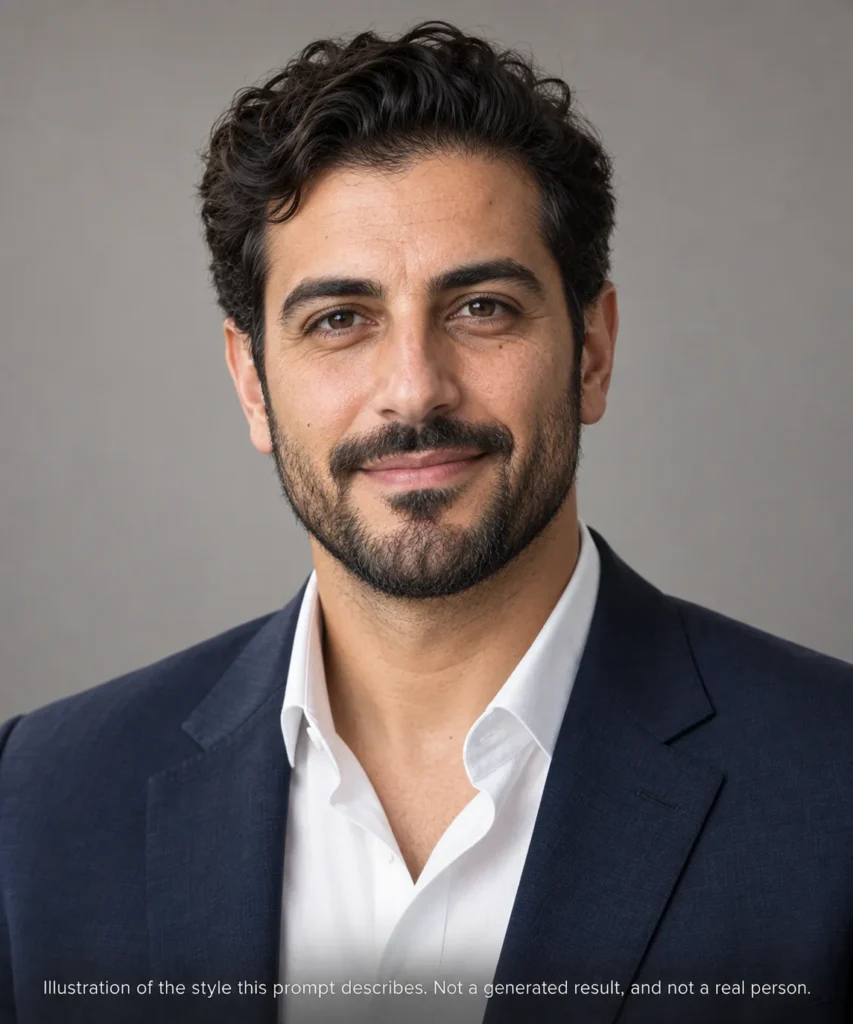
7. Sales Professional. Best for account executives, sales leaders, and partnerships.
Turn the uploaded reference photo into an energetic but credible sales-professional headshot. Preserve the same recognizable identity, age, facial proportions, hairstyle, eye color, and skin tone. Use a fitted blazer over an open-collar shirt, relaxed shoulders, bright natural catchlights, and a warm confident smile. Use a softly blurred modern office background and flattering diffused light. Avoid exaggerated whitened teeth, plastic skin, or overly aggressive power posing.
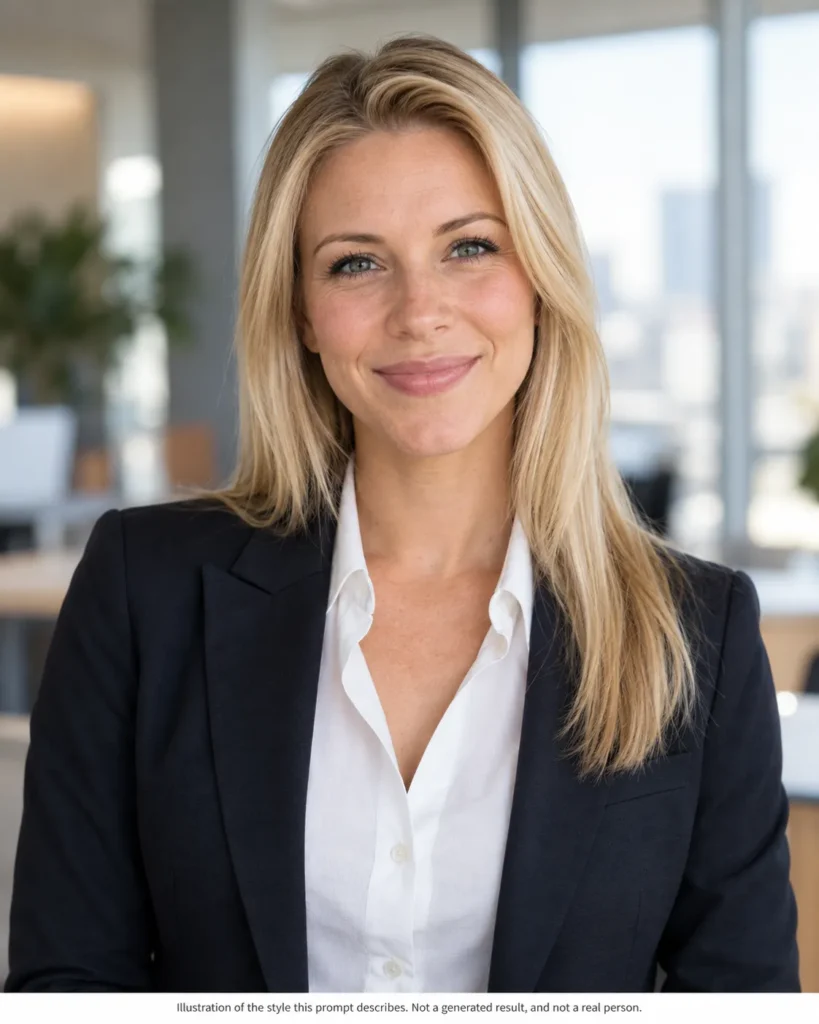
8. Remote Professional. Best for remote workers, operators, and distributed teams.
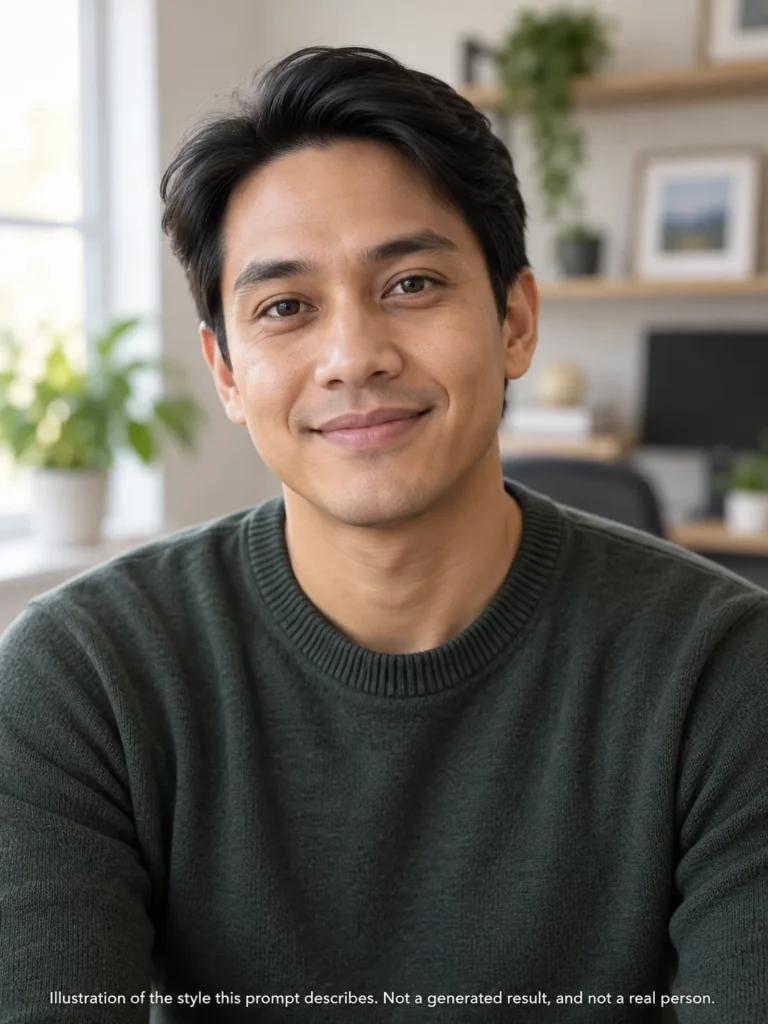
Edit the uploaded reference photo into a polished remote-professional headshot. Keep the person's recognizable identity unchanged. Use a clean smart-casual knit or shirt, relaxed posture, and a friendly natural expression. Place the subject in front of a tidy softly blurred home-office background with subtle plants or shelving and soft window-style light. Keep the face sharply defined, skin texture natural, and the overall result professional without looking staged or overproduced.
Industry Prompts
9. Finance and Legal. Best for finance, law, compliance, and conservative corporate profiles.
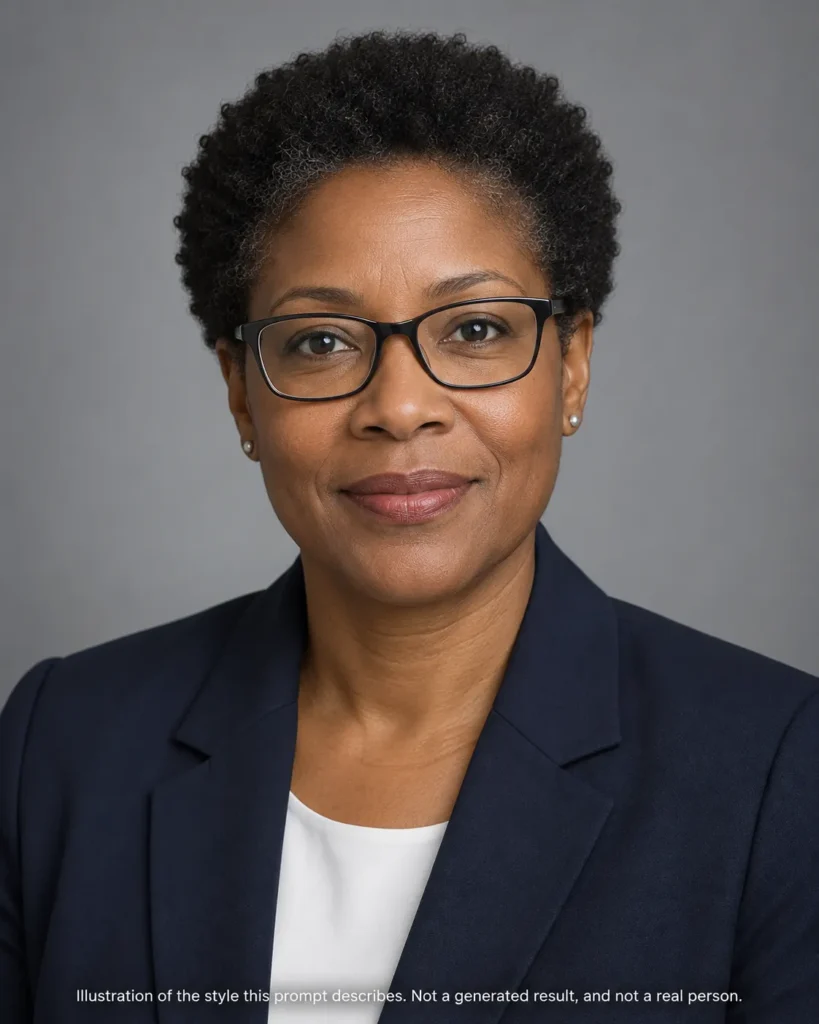
Create a conservative professional headshot from the uploaded reference photo while preserving the person's recognizable identity, age, facial proportions, hair, eye color, and skin tone. Use a dark navy or charcoal suit with a simple shirt, composed posture, minimal accessories, and a calm trustworthy expression. Use an even neutral studio background with controlled soft light. Keep the finish precise and natural, with no trendy background effects, dramatic color grading, or facial reshaping.
10. Healthcare Clinician. Best for doctors, clinicians, and healthcare leadership pages.
Edit the uploaded reference photo into a clean healthcare professional headshot while preserving the person's recognizable face and natural age. Use professional clinical attire appropriate to the person's real role, a bright neutral background, soft even lighting, upright relaxed posture, and a calm reassuring expression. Keep skin texture realistic and avoid cosmetic changes to facial structure. Do not add medical credentials, logos, badges, or text that are not visible and verified in the source image.

11. Academic and Researcher. Best for faculty pages, researchers, and conference bios.
Create an academic professional portrait from the uploaded reference photo. Preserve the same recognizable facial identity, age, hairstyle, eye color, skin tone, and defining features. Use a smart blazer or refined business-casual outfit, a calm thoughtful expression, and soft natural light. Place the subject against a subtle blurred library, campus office, or plain neutral background without readable institutional branding. Keep the image credible, understated, and realistically retouched.

12. Real Estate Professional. Best for real estate agents, brokers, and property teams.
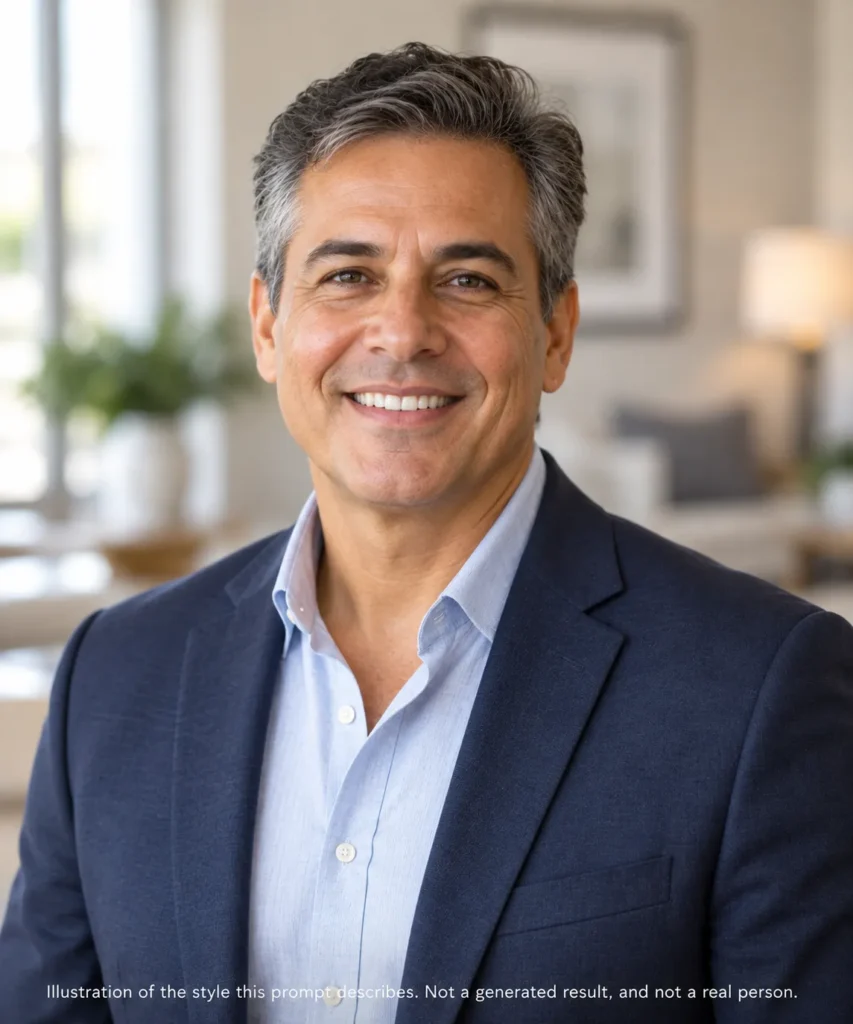
Turn the uploaded reference photo into an approachable real-estate professional headshot while keeping the person clearly recognizable. Use polished business-casual clothing, confident upright posture, and a warm open smile. Use bright soft natural lighting and a clean neutral or softly blurred upscale interior background. Preserve age, facial proportions, hair, eye color, skin tone, and defining features. Avoid adding property logos, brokerage branding, or luxury cues that are not requested.
13. Designer and Creative. Best for designers, creative directors, and agency profiles.
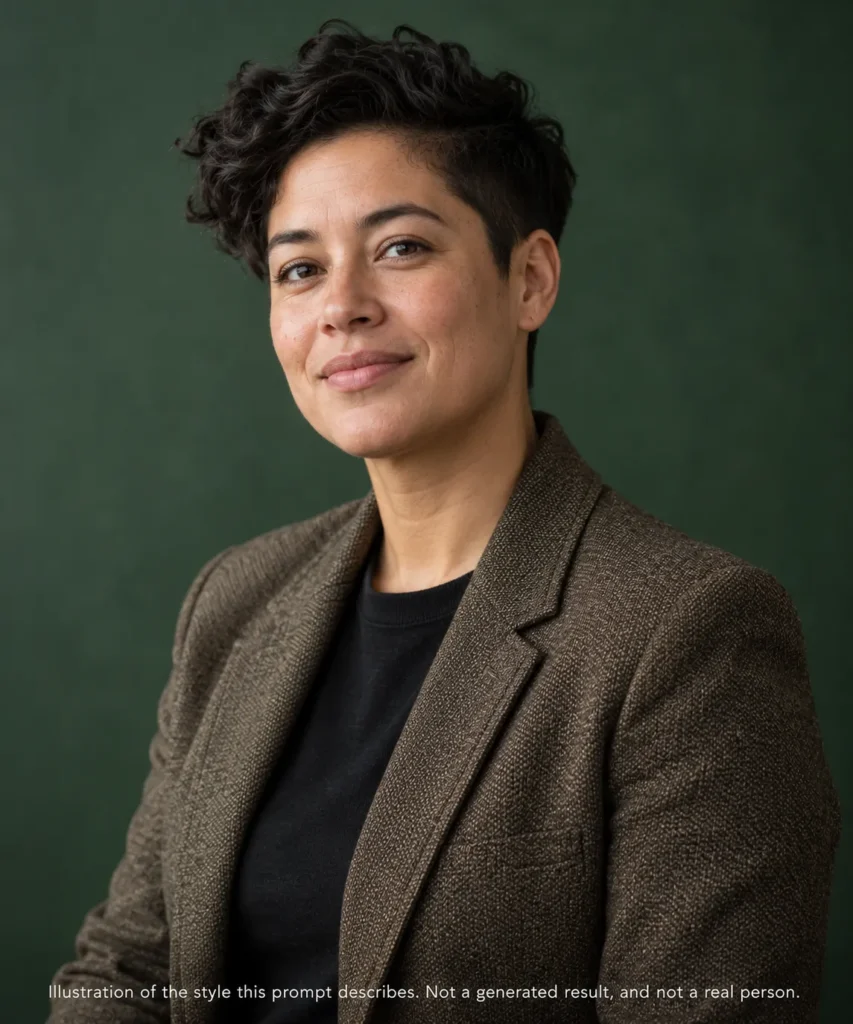
Create a modern creative-professional headshot from the uploaded reference while preserving the person's recognizable identity. Use a textured blazer, overshirt, or minimalist dark top, a relaxed confident expression, and a subtle three-quarter body angle while keeping the face clearly visible. Use a muted deep-green or warm-neutral background with soft directional light. Keep natural skin texture and authentic features; make the styling distinctive but not theatrical or fashion-editorial.
14. Engineer and Developer. Best for software engineers, technical founders, and developer relations.
Edit the uploaded reference into a clean technical-professional headshot. Preserve the same recognizable face, age, hair, eye color, skin tone, and natural facial structure. Use simple smart-casual clothing with no visible brand logos, relaxed posture, and a mild friendly expression. Use soft even lighting and a minimal gray-blue or softly blurred workspace background. Keep the result direct, credible, and low-gloss, with natural texture rather than beauty-retouched skin.

15. Marketing Leader. Best for CMOs, growth leaders, and brand or demand-generation roles.
Create a polished marketing-leader portrait from the uploaded reference photo without changing the person's recognizable identity. Use a structured but contemporary blazer, confident relaxed posture, and a warm direct gaze. Use soft studio light with a clean warm-neutral or muted brand-friendly background containing no logos or text. Preserve age, facial proportions, hair, eye color, skin tone, and defining features. Keep the finish modern, realistic, and editorially clean.
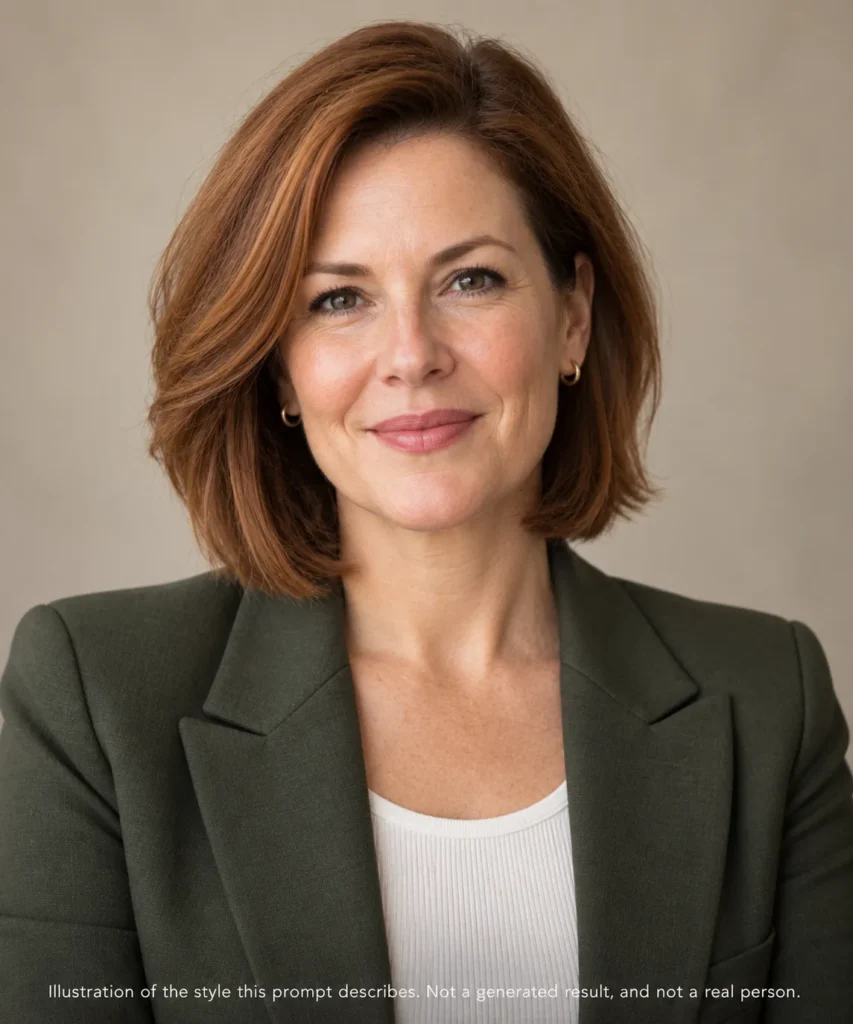
16. Customer Success and Support. Best for customer-success leaders, support managers, and customer-facing teams.
Edit the uploaded reference into a friendly customer-facing headshot. Preserve the same recognizable face, age, hairstyle, eye color, skin tone, and natural facial proportions. Use neat business-casual clothing, open posture, and a genuine approachable smile. Use bright soft light and a simple light-gray or pale-blue background. Keep skin texture realistic and the expression human, avoiding exaggerated teeth, overly smooth skin, or artificial eye brightening.
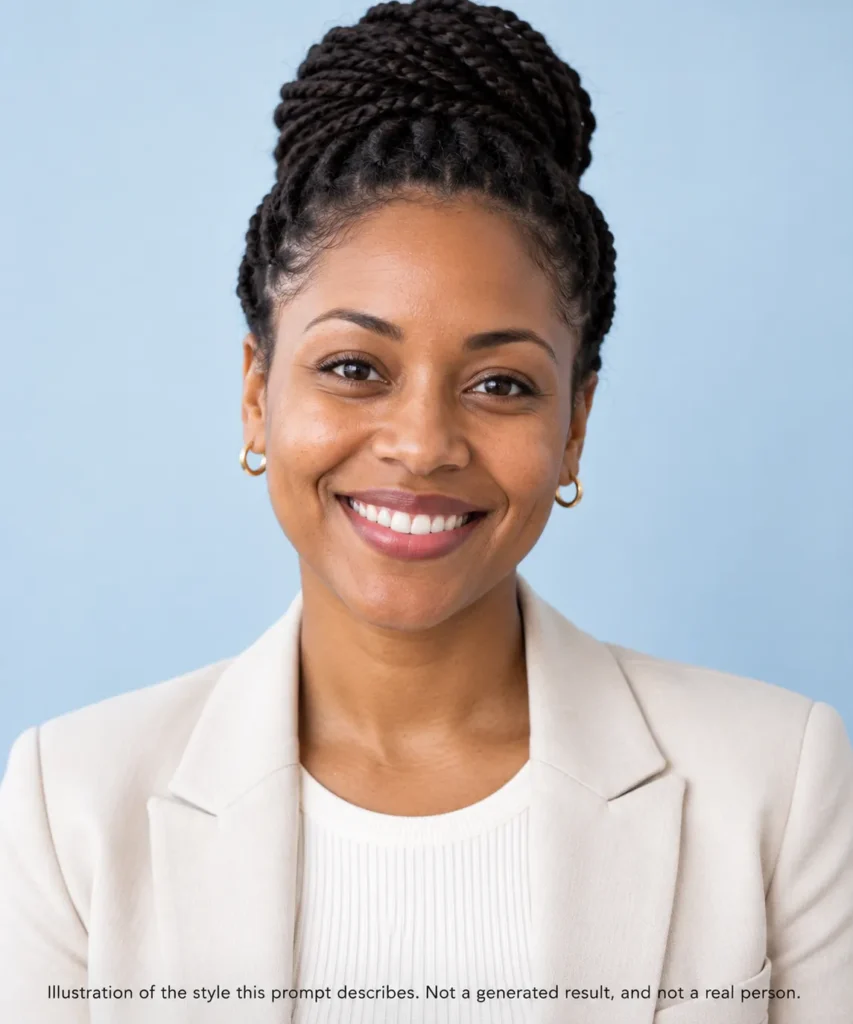
17. Small Business Owner. Best for founders, service professionals, and local-business owners.
Create an authentic small-business-owner headshot from the uploaded reference. Keep the person clearly recognizable, preserving age, facial proportions, hair, eye color, skin tone, and defining features. Use polished clothing appropriate for a client-facing owner, a confident natural smile, and soft flattering light. Use a subtle neutral or lightly contextual business background without invented signs or logos. Keep the result credible, personable, and not overly corporate.
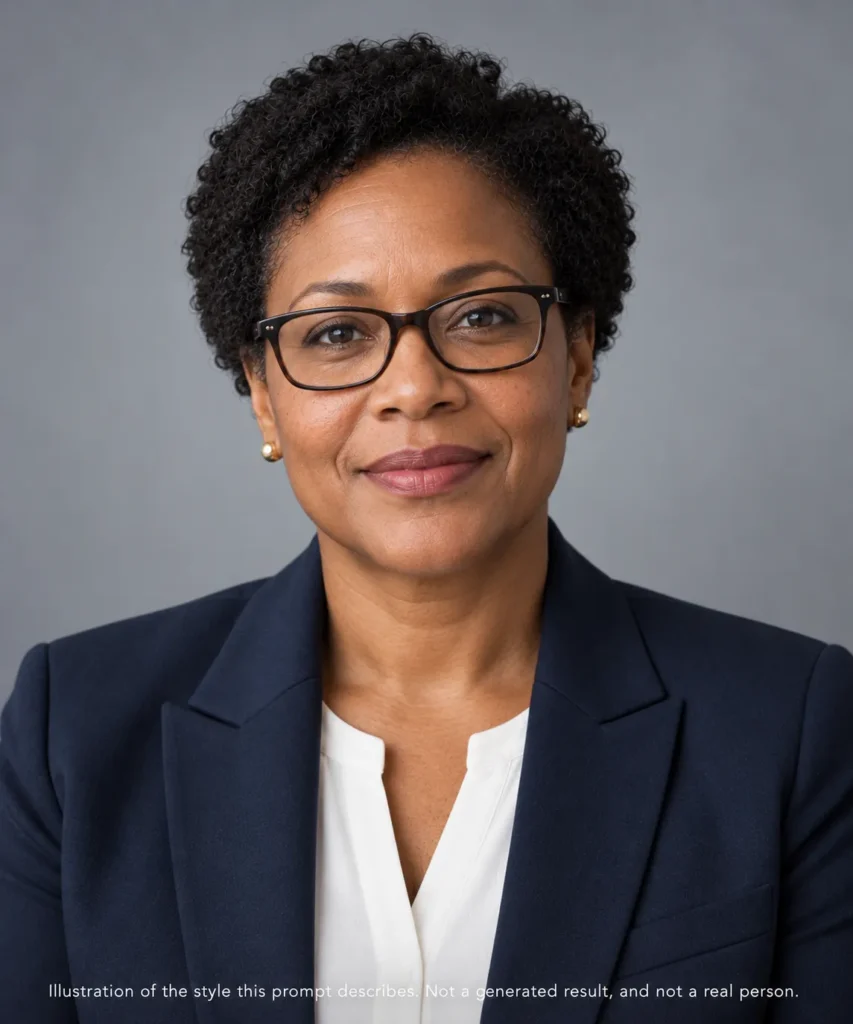
18. Speaker and Author Bio. Best for conference speakers, podcast guests, authors, and expert bios.
Turn the uploaded reference photo into a speaker-and-author bio portrait while preserving the person's recognizable identity and natural age. Use polished dark smart-casual clothing, a composed friendly expression, and soft directional light. Place the subject against a clean neutral or subtly textured background with enough open space around the shoulders for flexible cropping. Keep skin texture natural, facial proportions unchanged, and the overall image credible across event pages and media kits.
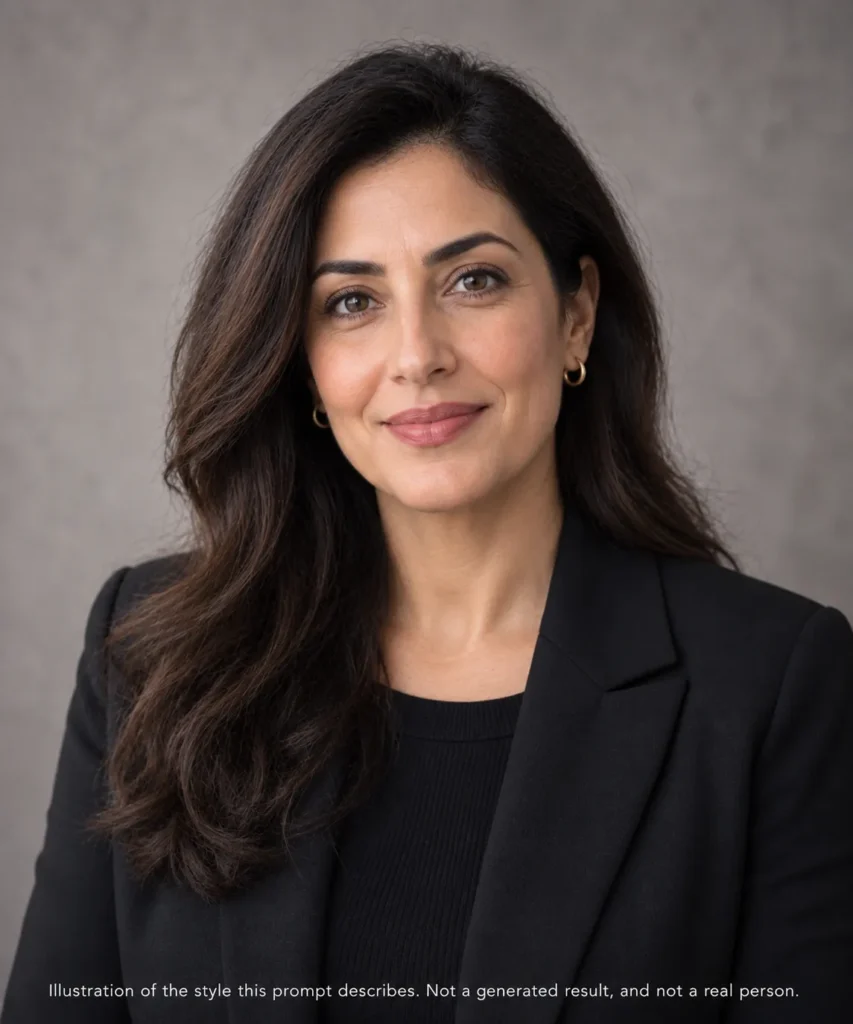
Style and Background Prompts
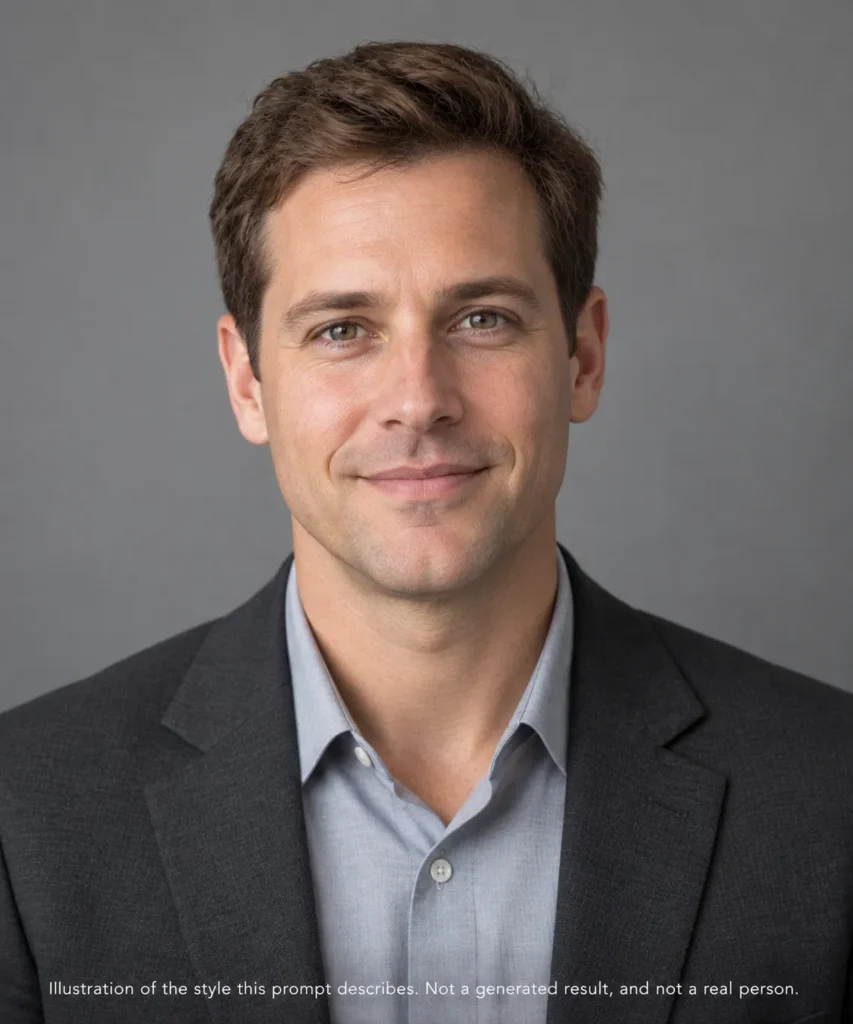
19. Soft Gray Studio. Best for anyone who needs one neutral portrait that works everywhere.
Edit the uploaded reference into a timeless neutral-studio headshot. Preserve the person's recognizable identity, age, facial proportions, hairstyle, eye color, skin tone, and defining features. Use a medium-gray studio backdrop with no visible seam, soft diffused key light, gentle fill, direct eye contact, relaxed shoulders, and a natural expression. Dress the person in simple professional clothing. Keep colors restrained, skin texture realistic, and all retouching subtle.
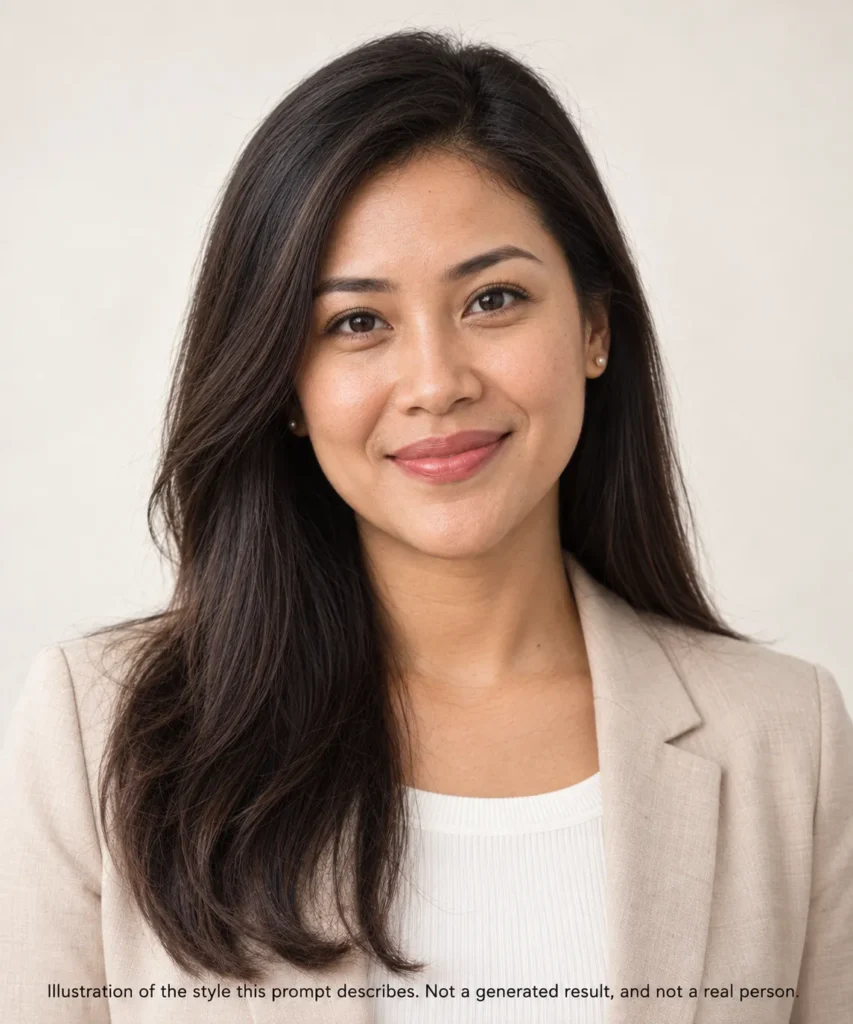
20. Warm Off-White Studio. Best for approachable personal brands and bright profile layouts.
Create a bright professional headshot from the uploaded reference while keeping the person's recognizable identity unchanged. Use a warm off-white studio backdrop with no visible seam, soft front-side lighting, natural catchlights, a relaxed confident expression, and clean smart-casual clothing. Preserve age, facial proportions, hairstyle, eye color, skin tone, and defining marks. Keep the finish soft and natural, with no plastic skin, excessive whitening, or dramatic color grading.
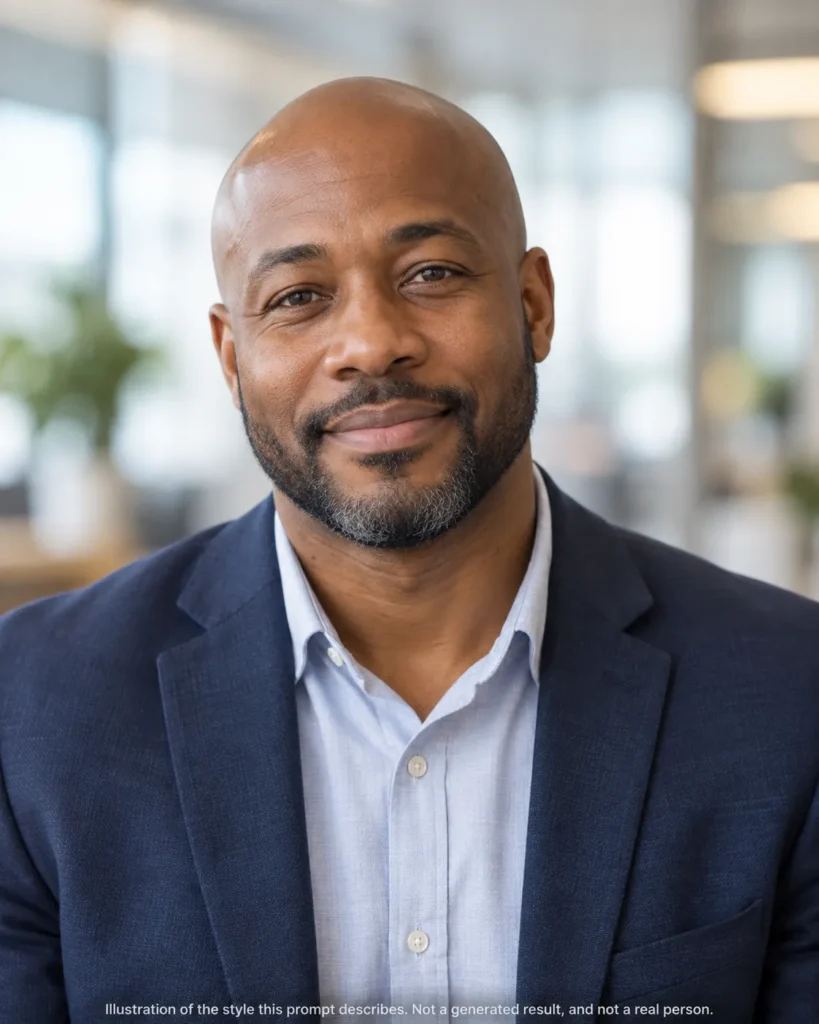
21. Blurred Office. Best for LinkedIn and team profiles that need workplace context.
Edit the uploaded reference photo into a modern office headshot. Preserve the same recognizable face and natural identity details. Use professional business-casual clothing, an approachable expression, soft flattering light, and a bright modern office in the background with strong blur so no readable text or logos appear. Keep the face and eyes sharp, skin texture realistic, and the composition chest-up. Change only clothing, background, lighting, and framing.
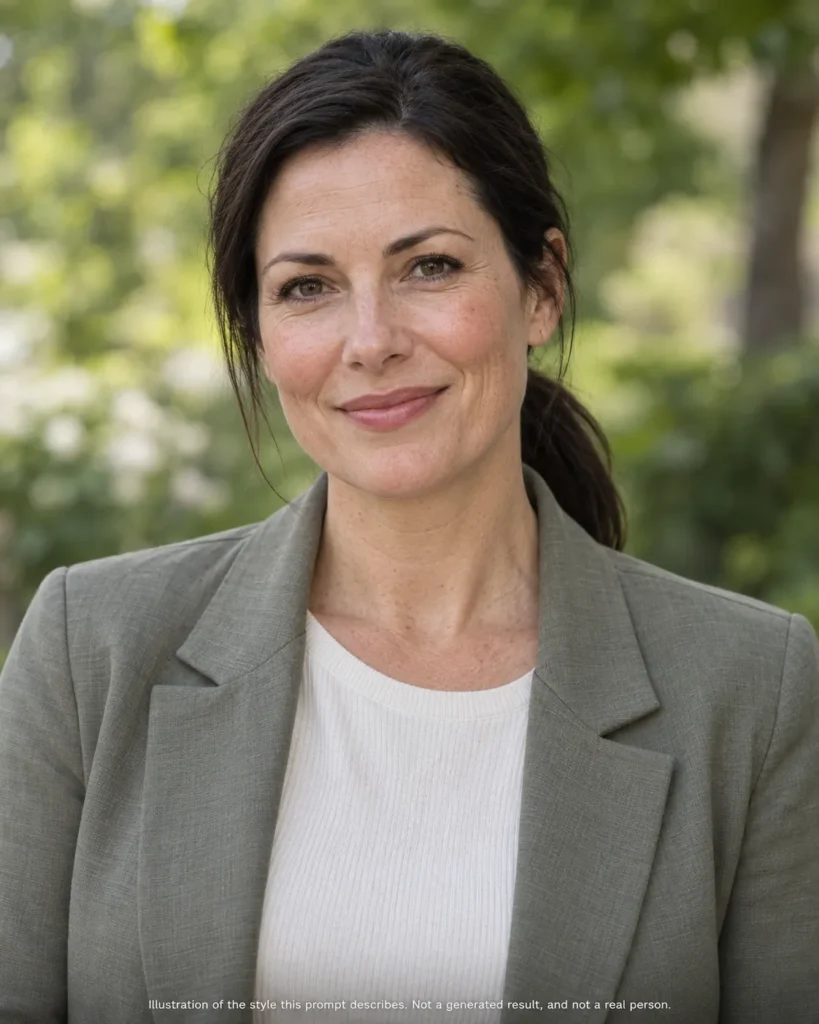
22. Outdoor Natural Light. Best for founders, consultants, community leaders, and personal brands.
Create a natural outdoor professional portrait from the uploaded reference photo while preserving the person's recognizable identity, age, facial proportions, hair, eye color, skin tone, and defining features. Use polished smart-casual clothing, a relaxed confident expression, soft open-shade daylight, and a gently blurred green or urban background. Keep the light even across the face, avoid harsh sun shadows, and maintain realistic skin texture without glamour retouching.
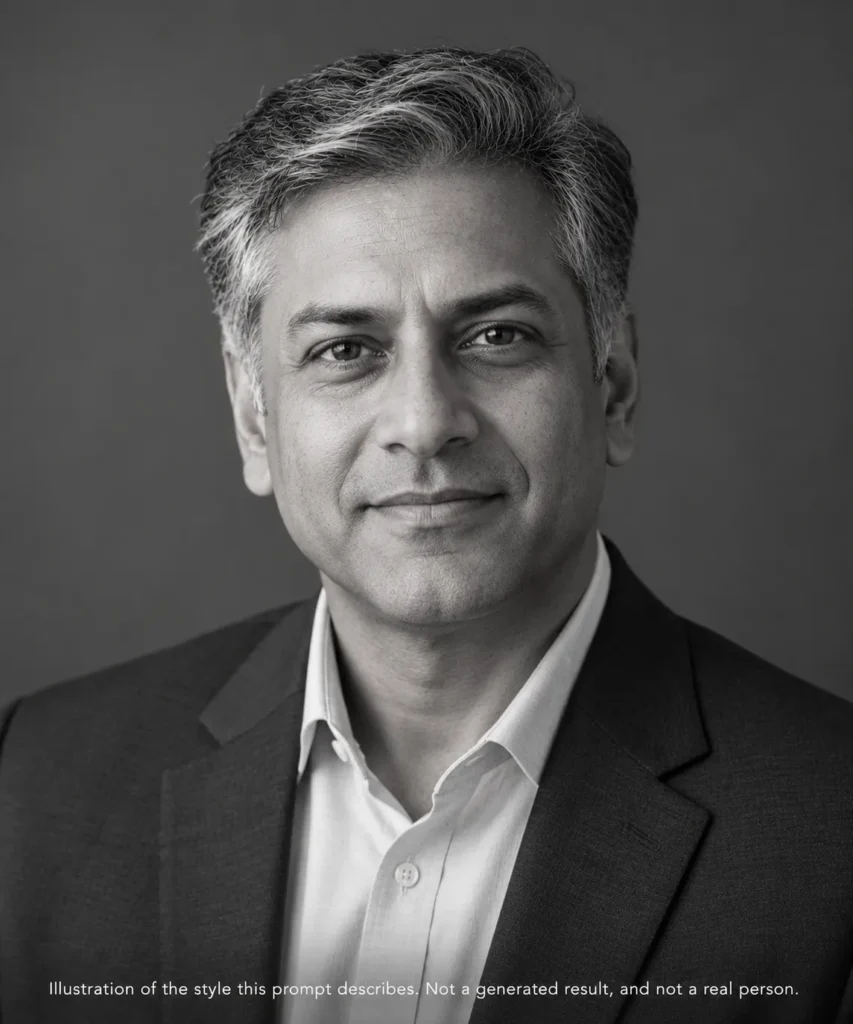
23. Black and White. Best for editorial bios, speaker pages, and understated personal branding.
Convert the uploaded reference into a refined black-and-white professional headshot while preserving the person's recognizable identity and natural age. Use simple professional attire, direct eye contact, a composed expression, and controlled soft side lighting with visible detail in both highlights and shadows. Use a plain dark-to-mid gray background. Keep facial structure, hair, and defining features unchanged; preserve realistic skin texture rather than smoothing it into a stylized portrait.
Team and Job-Search Prompts
24. Consistent Remote Team. Best for distributed-company team pages.
Create a team-page headshot from the uploaded reference using a repeatable company style while preserving this person's unique recognizable identity. Use a chest-up crop, centered framing, soft even key light, a light warm-gray background, simple smart-casual clothing, and a friendly natural expression. Keep the same background family, lighting direction, crop, and finish used for other team members, but do not homogenize facial features, age, skin tone, hair, or expression.
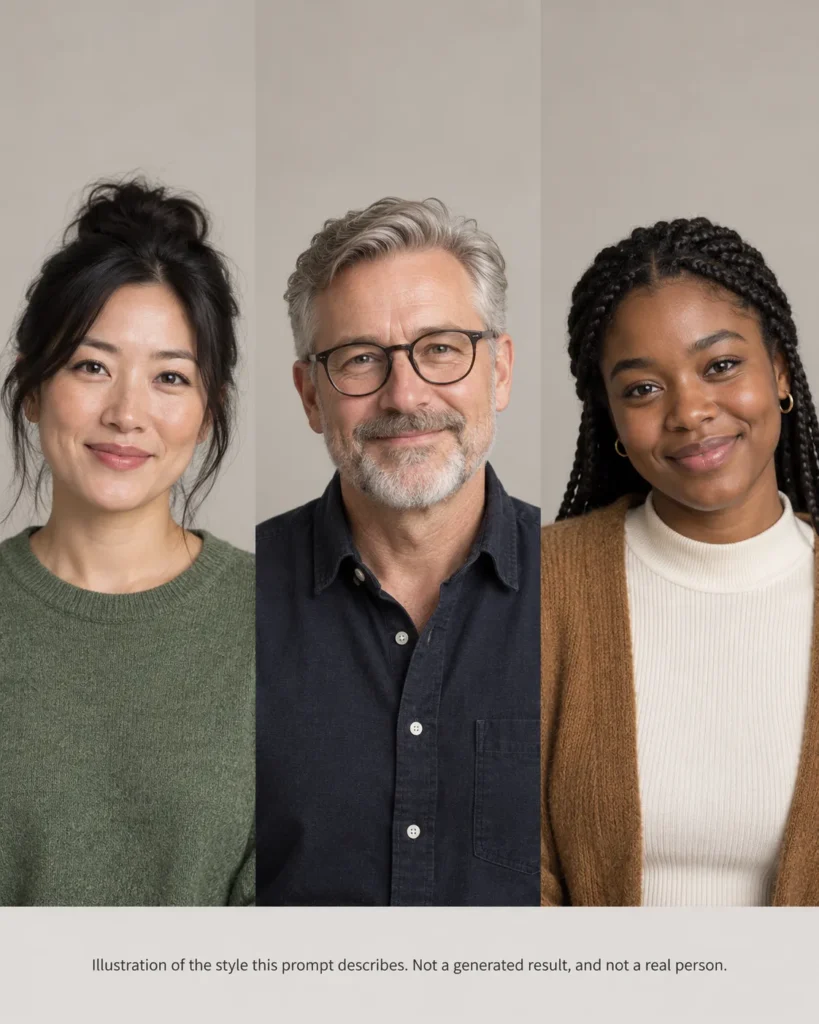
The second sentence is the one to protect when you run this across a team. Consistency belongs to the crop, the light, and the backdrop.
It does not belong to the faces, and a team page where everyone has acquired the same jawline is worse than no team page.
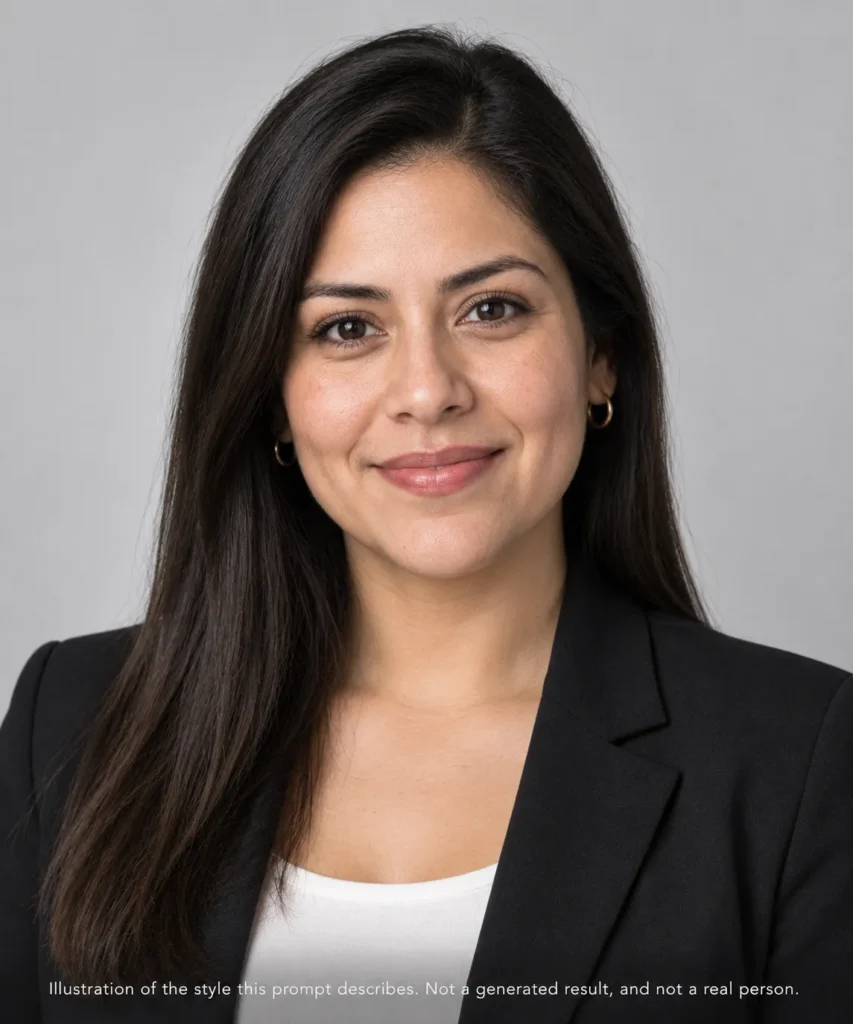
25. Job Seeker LinkedIn. Best for job seekers who need one versatile profile image.
Edit the uploaded reference into a polished job-seeker LinkedIn headshot. Preserve the person's recognizable face, age, facial proportions, hairstyle, eye color, skin tone, and defining features. Use role-neutral professional clothing, a clean light-gray background, soft even lighting, direct eye contact, and a calm approachable smile. Keep the image versatile across industries and realistically retouched. Do not add employer logos, job titles, badges, or text.
26. Portfolio and About Page. Best for freelancers, consultants, creators, and independent professionals.
Create an approachable portfolio or about-page portrait from the uploaded reference. Preserve the same recognizable identity and natural age. Use refined smart-casual clothing, a relaxed posture, and a genuine expression. Use soft natural light and a subtle environmental background that hints at a professional workspace without readable branding. Keep the face sharp, skin texture realistic, and the composition flexible enough for website crops. Avoid dramatic fashion styling or facial reshaping.

27. Appearance-Relevant Resume Exception. Best only for the narrow US cases where appearance is genuinely part of the role: actors, models, broadcasters, musicians, and other entertainers.
Create a clean professional casting or media-oriented headshot from the uploaded reference while preserving the person's recognizable identity, natural age, facial proportions, hairstyle, eye color, and skin tone. Use simple role-appropriate clothing, a neutral background, soft even light, direct eye contact, and restrained retouching. Keep the result realistic and current.
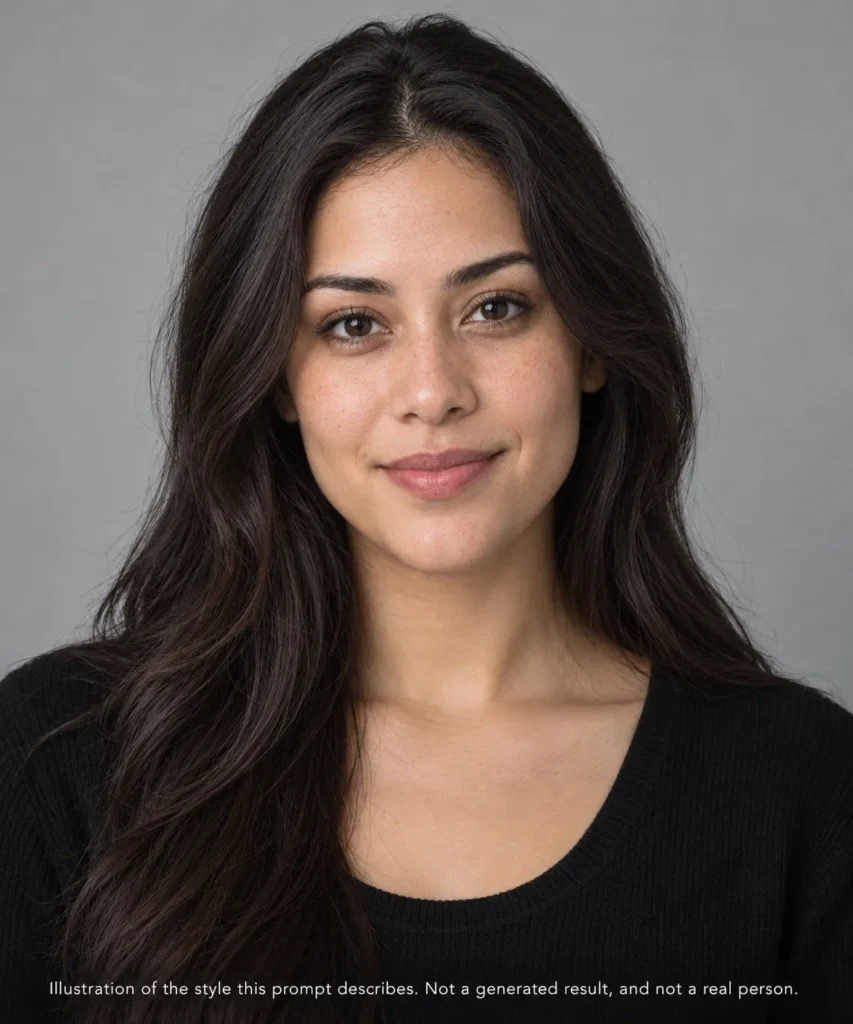
This template is not a recommendation to add a photo to an ordinary US resume. Use it only where the application itself is about how you look.
Repair Prompts
These three are the reason most people give up too early.
A near-perfect image with one wrong element is a repair job, not a reason to start again.
28. Change Outfit Only. Best for a good image where only the clothing is wrong.
Edit only the clothing in the current headshot. Keep the person's face, age, facial proportions, hairstyle, eye color, skin tone, expression, pose, framing, background, and lighting unchanged. Replace the current outfit with a tailored navy blazer over a clean white or light-blue shirt, with no logos, badges, or text. Preserve natural fabric folds and realistic edges around the neck and hair. Make no other visual changes.

29. Change Background Only. Best for a good headshot where only the setting is distracting.
Change only the background of the current headshot to a clean soft-gray professional studio backdrop. Keep the person's face, age, facial proportions, hairstyle, eye color, skin tone, expression, clothing, pose, crop, and lighting unchanged. Preserve realistic hair edges and natural separation from the background. Do not smooth skin, alter facial features, recolor clothing, add props, or change the person's position.
When the background is the only thing wrong, a dedicated cutout tool is often cleaner than asking a model to re-render the scene. A dedicated background remover such as the Remove.bg cutout tool leaves the face untouched by definition, which is the whole risk this prompt is trying to manage.

30. Restore Natural Likeness. Best for an overprocessed result that looks synthetic or reads as a different person.
Use the original uploaded reference photo as the identity anchor and correct the current headshot so the person is clearly recognizable again. Restore the original facial proportions, natural age, skin tone, eye color, hairstyle, hairline, and defining features. Reduce plastic skin, excessive sharpening, over-whitened teeth, and artificial eye brightening while keeping the approved clothing, background, crop, and overall lighting. Make only identity-restoration and natural-texture corrections.
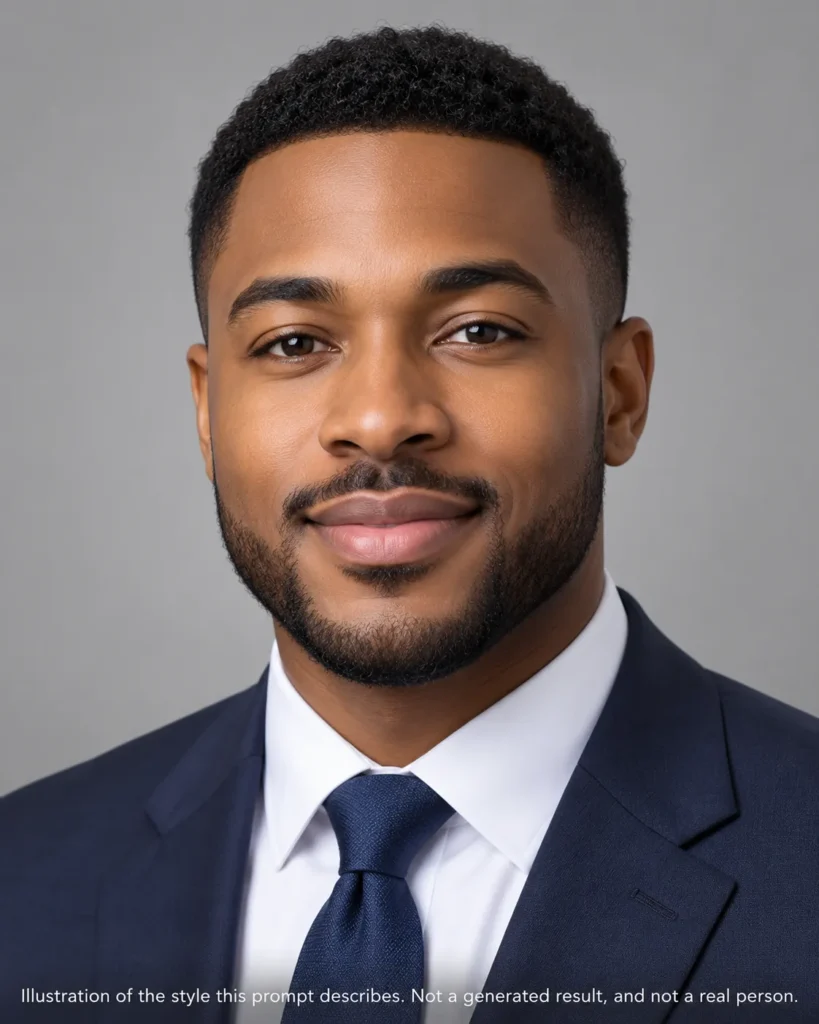
Run prompt 30 before any further styling.
Fixing the identity after you have layered two more changes on top is a harder problem than fixing it now.
Choose the Right Prompt
Thirty templates is only useful if you can reach the right one in ten seconds.
Two decisions get you there: how much context the background should carry, and what the role signals.
| If you want | Use this background | Prompts |
|---|---|---|
| Maximum neutrality and reuse | Plain grey or off-white studio | 19, 20, 25 |
| Modern workplace context | Softly blurred office | 2, 21 |
| Warmth and personal brand | Subtle environmental setting | 8, 22, 26 |
| Editorial restraint | Black and white, plain backdrop | 23 |
| Consistency across a team | One shared neutral background family | 24 |
Role sets the tone rather than the rules. A conservative field reads a dark suit against an even backdrop as normal, and a creative field reads the same image as stiff.
Neither choice has evidence behind it that a particular outfit improves a hiring outcome, so treat every style label below as a tone selection and not as advice about performance. Every label here stays inside a professional register; the era-styled photo prompts sit outside it, for images that are not going on a profile.
Two Rules That Decide Where This Photo Can Go
Most prompt lists treat LinkedIn, a resume, a team page, and a portfolio as one destination.
They are not, and the difference changes what you should do with the file.
LinkedIn accepts a rendering. It does not accept a stranger. The guidance permits an illustration or artistic rendering of yourself, and then requires the image to reflect your likeness. An AI headshot that smooths ten years off your face, narrows your jaw, and changes your eye colour has left that boundary, however professional it looks.
Most ordinary US resumes should carry no photo at all. Indeed’s career guidance states that in many countries including the United States, most career experts recommend leaving a photo off a resume.
The reasons it gives are focus on professional strengths and fair hiring. It names the exception plainly: appearance-relevant roles such as models, actors, musicians, TV broadcasters, and entertainers.
I would treat that as a routing rule rather than a warning. The headshot you generate here belongs on LinkedIn, a company team page, a speaker or media bio, a portfolio about page, or a conference profile.
It belongs on a resume only in the narrow case the exception covers.
Where the File Actually Goes
| Destination | Use an AI headshot? | The constraint that decides it |
|---|---|---|
| LinkedIn profile photo | Yes | Must reflect your likeness, and meet the file requirements in the note below |
| Company team page | Yes | Consistent house style across people, individual faces preserved |
| Speaker or media bio | Yes | Leave open space around the shoulders for event-page crops |
| Portfolio or about page | Yes | Flexible crop, personal-brand tone, no invented branding |
| Conference or podcast guest profile | Yes | Same file as the speaker bio, usually square |
| Ordinary US resume | No | Most career experts recommend leaving it off, per Indeed |
| Appearance-relevant US application | Only then | Modelling, acting, music, broadcast, entertainment |
LinkedIn file requirements: PNG or JPG, pixel size between 400×400 and 7680×4320, maximum file size is 8MB, per LinkedIn’s photo upload requirements. The likeness rule in the row above comes from LinkedIn’s profile photo guidelines, and the resume row from Indeed’s US resume-photo guidance linked earlier. Checked: 2026-09-06.
LinkedIn’s upload article recommends adding a photo that will not require much cropping, and notes that the photo can be adjusted after upload. It sets no aspect ratio, headroom or crop margin.
As an editorial choice, every prompt below asks for a chest-up or head-and-shoulders frame, so one file can be re-cropped for surfaces beyond LinkedIn.
The Prompt Formula: Preserve, Then Change
Long camera-specification prompts dominate this topic, and the tool makers do not ask for them.
OpenAI’s prompting guidance says a good image prompt does not need to be long, and that one to three clear sentences are usually enough. It names the useful details as the purpose, the subject, what is happening, where it takes place, and the visual style, with framing, lighting and constraints added when they matter.
Google’s guidance runs parallel. It lists subject, composition, action, location, style, and editing instructions as the elements to consider, and states that simple one or two-sentence inputs can produce great results.
So the useful structure is not length. It is a boundary.
For an edit specifically, OpenAI recommends being explicit about what should change and what should stay the same, and offers the shape “Change only X. Keep everything else exactly the same.” That single instruction is the difference between a headshot and a portrait of a stranger who owns your shirt.
| Block | What it does | Example content |
|---|---|---|
| Purpose | Names the destination and the tone | “a LinkedIn profile portrait for a consultant” |
| Preserve identity | Lists the features that must survive | age, face shape, skin tone, eye colour, hairline, hairstyle, glasses, facial hair |
| Change scope | Limits what may move | clothing, background, lighting, crop, expression |
| Composition and lighting | Sets the frame and the light | chest-up, centred, soft diffused key light |
| Output constraints | Blocks the failure modes | realistic skin texture, no logos, no text, no facial reshaping |
How to Use These Prompts
Read this section once and the thirty templates below become a workflow instead of a list.
Each prompt is a template with the same required input and a stated use case, so the steps do not change when you swap one template for another. The common errors are collected once, further down this guide.
Step 1. Pick the destination first. LinkedIn, team page, speaker bio, portfolio, or the narrow resume exception. The destination decides the tone before the role does.
Step 2. Choose the reference photo. Face in focus, even light, no sunglasses, no heavy shadow across one side, and recent enough to be honest.
Step 3. Choose one prompt and customize one variable. Swap the garment or the background if the role needs it. Rewriting every variable at once removes the reason the template worked.
Step 4. Attach the reference and paste the prompt. Use the tool’s own documented aspect-ratio control where the official help describes one, rather than arguing with the model in prose.
Step 5. Compare your output to the reference for likeness first. Not the blazer, not the backdrop. If the face has drifted, nothing else in the frame matters.
Step 6. Fix one thing at a time. Prompts 28 to 30 exist for this, because a broad rewrite of a nearly-good image usually costs you the parts that were right.
Step 7. Run the publication checklist. Likeness, artifacts, permission, file requirements, and destination fit, in that order.
Two errors are worth naming, because both waste more time than anything else in this workflow. Skipping step 5 and judging the image on styling is the first common error, and treating step 6 as optional is the second.
If the example output you get back is close but wrong in one place, that is exactly what prompts 28 to 30 are for.
Reference Photo Setup
The single largest source of “it does not look like me” is an ambiguous reference set.
Two or three images can help, but only when each has a stated job.
Google’s Nano Banana Pro guidance is explicit about this. It tells users to clearly define the role of each uploaded image, giving the example of one image for pose, one for style, and one for the background environment.
OpenAI’s guidance makes the same move in different words, telling users to refer to each uploaded image by order and explain how they relate.
| Reference role | What it supplies | What to say in the prompt |
|---|---|---|
| Identity anchor | The face that must survive the edit | “Use Image 1 as the identity source” |
| Pose or angle | Head position and shoulder line | “Use Image 2 for the head angle only” |
| Clothing | The garment you actually own | “Use Image 3 for the jacket only” |
| Background | The setting or backdrop family | “Use Image 4 for the background environment only” |
No universal best number exists, and the tools differ on what they accept.
Nano Banana 2 can accept multiple reference images, while Nano Banana 2 Lite, the option used when the Gemini model is set to Flash-Lite, is not designed for multiple image references or for multiple edits. Midjourney’s Edit Model caps the set at four.
I would start with one clean identity anchor. Add a second reference only when the first attempt fails on a specific thing that a second photo can fix.
That same reference photo is usually worth more than one edit, and the ChatGPT photo editing prompts library covers the other jobs people run on it.
Which Tool Runs These Prompts
The templates are written in plain language on purpose, so the same text works across editors.
The mechanics around them differ, and that is where people lose time.
| Control | ChatGPT Images help article | Gemini Apps image generation | Midjourney Edit Model |
|---|---|---|---|
| Edit an uploaded photo | Upload an existing image and describe the change | Upload an image and ask for edits | Edit Model with reference images |
| Targeted region edit | Selection tool, then describe the change in chat | Gemini Apps documents local edits | Specific instructions in the prompt; no region tool documented |
| Identity of a real person | Reference photo advised for accuracy, with permission | Gemini Apps documents character consistency | Reference set carries the identity |
| Multiple references | Multiple uploads, each explained by order | Nano Banana 2 accepts several; Lite is not designed for them | Up to four reference images |
| Aspect ratio | Ratio picker, or state the ratio in the prompt | Not documented in the Gemini Apps help | Tries to match the first image; –ar overrides it, and default settings do not apply |
Sources, OpenAI: the ChatGPT Images help article and the image prompting guidance. Sources, Google: the Gemini image generation and editing help. Sources, Midjourney: the Edit Model documentation and the version history. All three sets were checked on the date shown above.
Version currency matters more here than in most software categories, because the naming changes faster than the guides do.
OpenAI announced ChatGPT Images version 2.0 on 21 April 2026. Midjourney’s version documentation, linked in the note above, records V8.2 as the default from 24 July 2026, so a prompt guide still telling readers to select an older model is describing a workflow that has moved.
One Gemini-specific caution is worth repeating from the table. The Lite option is the one selected when the Gemini model is set to Flash-Lite, and Google’s own documentation says it is not designed for multiple image references or for multiple edits.
That is precisely the workflow these prompts use, so a Lite session is the wrong place to run them, and the same applies to the couple photo prompts that ask Gemini to hold two faces in one frame.
That is precisely the workflow these prompts use, so a Lite session is the wrong place to run them.
One practical difference the table cannot show: of the three, only Midjourney has no free path to try it, so a single headshot means starting a subscription. The Midjourney review covers what that commitment buys.
If you have not settled on a tool at all, the best AI image generators guide compares them well beyond this one task. If you have settled on Gemini, the Nano Banana prompts collection carries the same preserve-versus-change discipline across sixty-four templates.
Fix a Headshot That Went Wrong
OpenAI’s guidance is direct about the repair method: the best way to improve an image is usually through small, targeted revisions, getting the core idea right and then adjusting one element at a time. Google documents precise local edits and character consistency as capabilities in the same spirit.
The loop is short.
| The problem you see | The single change to request | The prompt to start from |
|---|---|---|
| Face has drifted from the reference | Restore identity, keep everything else | 30 |
| Skin looks plastic or airbrushed | Restore natural texture only | 30 |
| Wrong garment, everything else fine | Change clothing only | 28 |
| Distracting or wrong background | Change background only | 29 |
| Crop is too tight for the platform | Re-request the frame, preserve the rest | 2, 19 |
| Expression reads as forced | Adjust expression only, name the pose as fixed | 5, 16 |
Example: How to Plan One Run
This is how a run would be recorded end to end, using prompt 2 as the starting template. Nothing below is a generated image or an observed result.
Take a fractional operations consultant who needs a LinkedIn photo. She has one usable reference: a phone photo taken near a window, shoulders visible, glasses on, hair tied back.
The destination is LinkedIn plus a portfolio about page, so a neutral-to-modern tone serves both.
| Field | Value for this run |
|---|---|
| Destination | LinkedIn profile photo, reused on a portfolio about page |
| Reference photo | One image, own photo, window light, chest-up, glasses on |
| Template chosen | Prompt 2, Modern Business Casual |
| Customization | One change only: glasses named in the preserve list |
| Preserve list | Age, face shape, skin tone, eye color, hairline, hair tied back, glasses |
| Change scope | Clothing, background, lighting, crop |
| Failure mode to watch for | Thinned glasses frames, over-smoothed skin |
| Repair to run if it appears | Prompt 30, identity restoration only, styling untouched |
| File to prepare | JPG, sized inside the LinkedIn range recorded earlier in this guide |
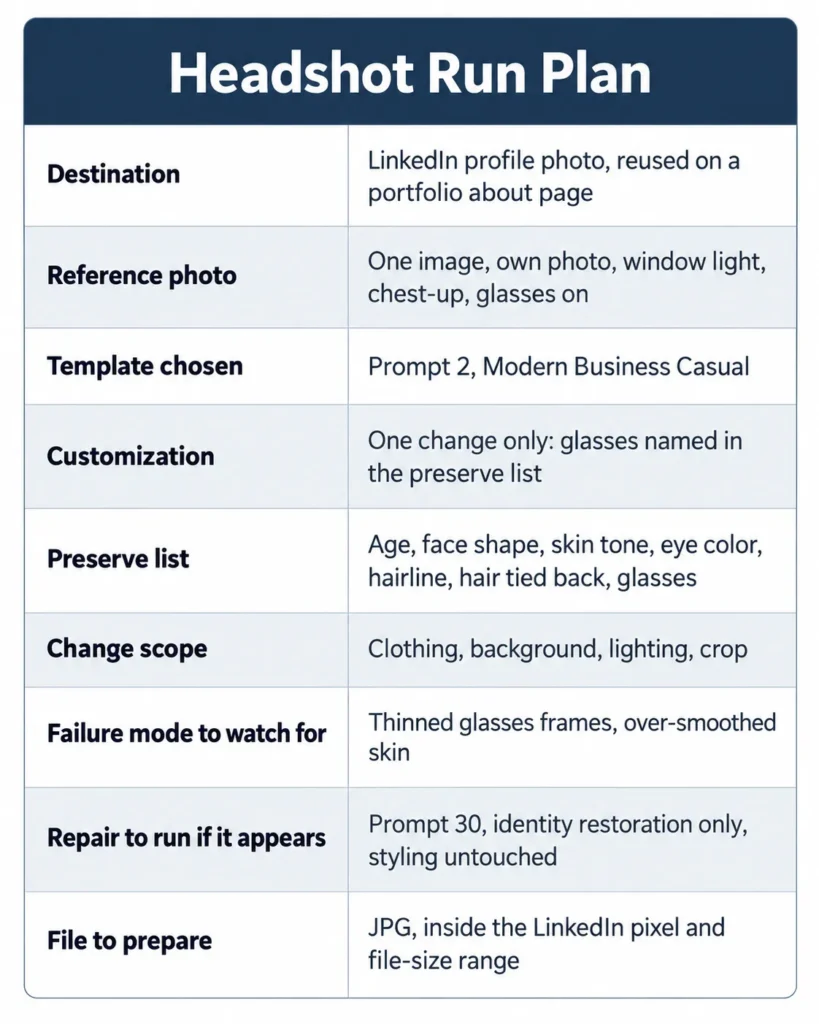
One thing in that plan is worth copying: a single variable moved, and it was the variable most likely to break.
Accessories such as glasses are worth naming in the preserve list, because OpenAI’s editing guidance is to state explicitly what should stay the same.
Red Flags That Should Stop You Publishing
Any one of these means the image is not ready, whatever else is right about it.
| Red flag | Why it disqualifies the image |
|---|---|
| The face reads as a different person | LinkedIn requires the image to reflect your likeness |
| Apparent age has shifted by years | People who know you will notice before recruiters do |
| Jaw, nose, or eye shape has been reshaped | Identity drift dressed as retouching |
| Skin has no visible texture | A strong signal that the image reads as synthetic |
| Eye colour or skin tone has changed | A demographic edit nobody asked for |
| Glasses, jewellery, or facial hair vanished | A detail the model dropped because you did not protect it |
| Teeth are uniformly white and oversized | A common uncanny artifact; check them against the reference |
| Hair edges smear into the background | A compositing failure that survives to full resolution |
| Hands, ears, or collars are malformed | Structural artifact, not a lighting issue |
| A badge, logo, or text appeared | Invented credentials are a fabrication |
| Clothing does not match the role you are claiming | A credibility problem rather than a technical one |
| The crop leaves no room for a platform crop | Editorial: one tight file cannot be re-cropped for other surfaces |
Common Mistakes
Changing everything at once. A broad rewrite of a nearly-good image trades three problems for five. Fix one thing, compare, repeat.
Judging the result on styling before likeness. The blazer is the easiest thing to assess and the least important. Check the face against the reference first.
Treating camera terminology as proof. An 85mm reference in a prompt is a visual instruction to a model, not evidence that a lens was involved. It may shape the look; it guarantees nothing about realism.
Uploading references with no stated role. Google’s Nano Banana Pro guidance is to define the role of each uploaded image, so two photos with no jobs assigned are worth less than one clean identity anchor.
Running the workflow in a Lite model. Google’s documentation is explicit that the Lite option is not designed for multiple image references or for multiple edits, which is the whole method here.
Putting the result on a US resume by default. The guidance points the other way for ordinary applications, and this is the mistake that costs something outside the image itself.
Using someone else’s photo. A colleague’s headshot is their likeness, not a reference asset. Ask first.
Before You Publish: The Likeness QA Checklist
Nine checks, in order. The first one is not negotiable, and the rest only matter once it passes.
| # | Check | Pass condition |
|---|---|---|
| 1 | Recognisability | Someone who knows you identifies you immediately |
| 2 | Identity features | Age, proportions, skin tone, eye colour, hairline, glasses, facial hair all match the reference |
| 3 | Natural finish | Visible skin texture, ordinary teeth, no artificial eye brightening |
| 4 | Artifacts | Clean hair edges, correct ears and collar, no warped background lines |
| 5 | Attire credibility | The clothing suits the role you are actually claiming |
| 6 | Background honesty | No invented logos, badges, credentials, or readable text |
| 7 | File requirements | PNG or JPG, inside LinkedIn’s stated pixel range, under the file-size ceiling |
| 8 | Crop headroom | Enough space around the shoulders that a platform crop will not cut into the face (editorial, not a LinkedIn rule) |
| 9 | Destination and permission | Right surface for this image, and the likeness is yours to use |
Fail any of the first two and the answer is prompt 30, not a new generation.
Checks 7 and 8 are the two no prompt can fix. Resizing into LinkedIn’s pixel range and setting the final crop are editor work, and any of the tools in the best AI photo editors guide will do it.
How This Guide Was Built
Every tool and platform fact here comes from the vendor’s own documentation, read on the checked date recorded above. The pages were OpenAI’s ChatGPT Images help article and image-prompting guidance, Google’s Gemini image generation help and its two prompting posts, Midjourney’s Edit Model and version documentation, and LinkedIn’s profile-photo guidelines and upload requirements.
The US resume position comes from Indeed’s career guidance. That is career guidance, not law and not a universal employer rule.
The thirty templates are editorial, built from those documented controls plus a review of ten competing prompt pages. They were not executed in a product account for this guide, so this article states no observed output, no success rate, and no comparison of image quality between tools.
Two things the evidence does not establish are worth naming. No source here shows that a particular outfit, background, or expression improves a hiring or profile outcome, so every style label is a tone choice.
No documentation guarantees that any generator preserves a face exactly either, which is why the likeness checklist above is a manual step rather than a promise.
FAQ
These are the questions the body above leaves open, mostly about the boundary between an edit and a new face.
What is a good AI prompt for a professional headshot?
One that names the destination, lists the identity features that must survive, limits what may change, and sets the frame and light. OpenAI’s guidance says one to three clear sentences usually carry that, so length is not the variable that matters.
Can ChatGPT make a LinkedIn headshot from a selfie?
ChatGPT Images supports uploading an existing image and describing the changes you want, which is the workflow every template here uses. Whether the result is suitable for LinkedIn is a separate question that the likeness checklist answers.
How do I keep the same face?
Name the features explicitly and state what must not change, in the same prompt. Use the “change only X, keep everything else the same” shape that OpenAI’s editing guidance recommends, and reject any result where the face has drifted.
How many reference photos should I use?
Start with one clean identity anchor. Add more only when a specific problem needs them, and give each upload a stated role, which is what Google’s Nano Banana Pro guidance advises.
Can I change just the outfit without changing my face?
Yes, and that is what prompt 28 is for. The instruction has to list everything that stays fixed, not only the garment that changes.
What size should a LinkedIn profile photo be?
Between 400×400 and 7680×4320 pixels, as a PNG or JPG, with a maximum file size of 8MB, per LinkedIn’s photo upload requirements. It also recommends a photo that will not require much cropping.
Should I put a headshot on my US resume?
For an ordinary application, no. Indeed’s guidance is that most career experts recommend leaving it off, with appearance-relevant roles as the exception.
Can one style work for a whole team?
Keep the crop, the lighting direction, the background family, and the finish consistent, and keep every face individual. Prompt 24 is written around that split.
Why does every small edit change the whole image?
Usually because the prompt named the change without naming what should stay. Add the preserve list, and use the repair prompts rather than a fresh generation.
What To Do Next
Choose the role-appropriate prompt for your destination, attach a reference photo you are permitted to use, and run it in a supported AI image editor. Verify likeness and professional fit against the nine-point checklist before anything else.
If the result is close but one element is wrong, run prompt 28, 29, or 30 rather than starting again. If the face has drifted, prompt 30 comes first.
Then place the approved image where it belongs: a LinkedIn profile, a company profile or team page, a portfolio about page, or a speaker bio. Keep it off an ordinary US resume unless your role is one of the appearance-relevant exceptions.
If none of that lands, the exit is the preset generator linked near the top of this guide rather than a thirty-first prompt.


Pingback: Remove.bg Review 2026: Pricing, Credits, API and Verdict