
How to use Canva for a first design comes down to eight steps: sign up free, open a template or a blank size, add text, add images and your own photos, resize, share for feedback and download. The work happens in three editor tabs (Text, Elements, Uploads) and the Share button, which also holds Download.
The steps follow the web editor on Canva Free, with button names from Canva Help Center pages checked in November 2026. Of the eight steps, only Step 6 (Magic Resize) needs a paid plan, and a few options inside other steps do too; each Magic Resize use counts against your monthly AI usage limit.
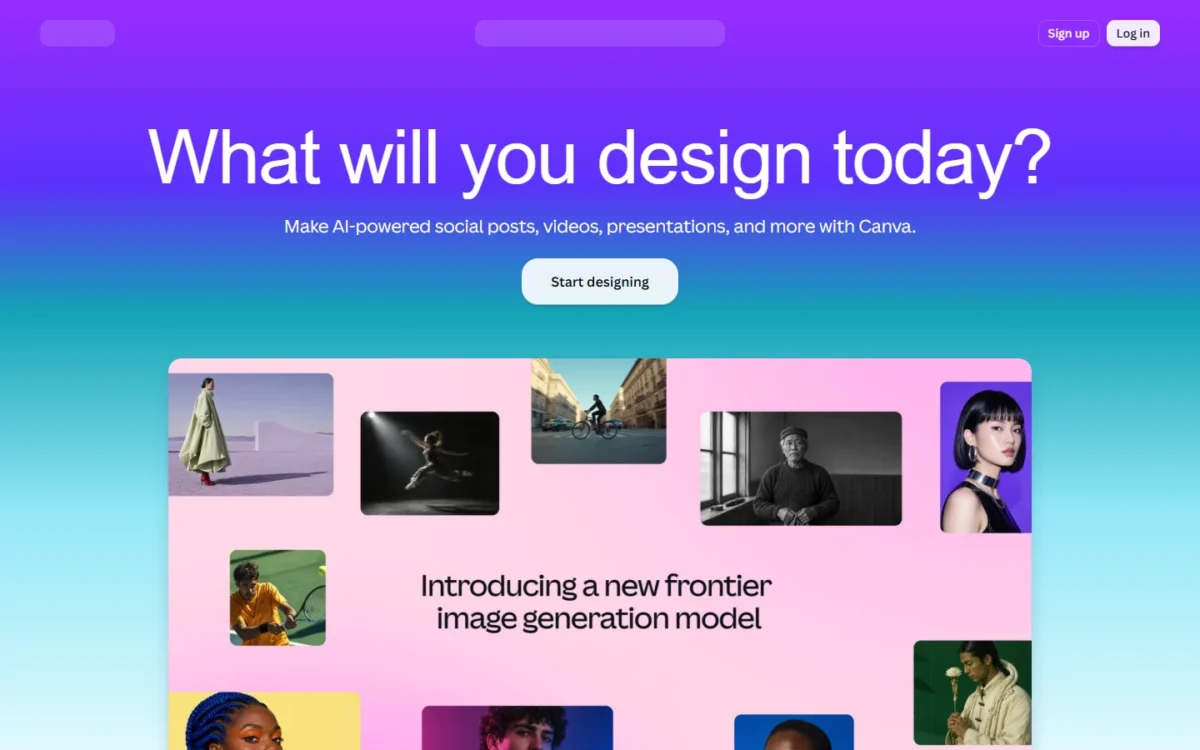
This path suits owners, marketers, freelancers and students making social posts, flyers and simple decks without a designer. If you need SVG files or transparent backgrounds, plan on a Pro, Teams, Business, Education or Nonprofit plan. If you outgrow templates and need photo retouching, Photoshop plan costs are the next thing to check.
- Task: make, share and download a first Canva design
- Result: a file on your device and a share link at the access level you chose
- Prerequisites: a free Canva account (email, Google, Apple, Facebook, Microsoft or ChatGPT)
- Tools: a desktop browser and the photos or logo you want to use
- Limitation: Magic Resize and some download options (SVG, transparent background, bulk) need a paid plan
In This Article (17 sections)
Before You Begin
Have these ready before you open Canva:
- An email address you can open. Canva does not allow temporary or disposable addresses, and it emails a code to finish sign-up. A Google, Facebook, Apple, Microsoft or ChatGPT account works too.
- A desktop browser.
- Your photos or logo on the device, uploaded in small groups: Canva warns that large batches of files may cause errors.
- The size or channel the design is for, so Step 2 opens the right dimensions.
Canva Free covers every step except Step 6 (a few options inside Steps 3, 7 and 8 are paid), and as the design’s owner you have the edit access sharing requires. Canva publishes no time estimate for a first design.
Step 1: Create Your Free Canva Account
Sign up with the email you want your designs saved under:
- Go to canva.com and select Sign up.
- Choose Continue with email, or select Continue another way for a work email, Google, Apple, Facebook, Microsoft or ChatGPT.
- Enter your email address, then select Continue.
- Enter your preferred account name and select Continue.
- Enter the code Canva sent to your email address.
Expected result: Canva accepts the code and you are signed in; you can set a password later in Settings.
Pick the Google button carefully: if no active Canva account exists for that Google email, Continue with Google creates one automatically, so a second Google address means a second, empty account.
Step 2: Start a Design From a Template or a Blank Size
Start from a template when one matches your format, since you only swap text, photos and colors; start blank when you know the exact size.
Start from a template
- From the homepage, select Templates.
- Search for the design you need (Canva’s own example is “Instagram Reels video”).
- Select a template to preview it, then select Customize this template.
Expected result: the template opens in the editor, where you edit text on the canvas and adjust colors and fonts.
Start from a blank design or a custom size
For a preset size, click the Create tab in the homepage’s left-side panel and search the Create a design page. For exact dimensions:
- On the homepage banner, click Custom size.
- Under Units, pick px, in, mm or cm.
- Enter the Width and Height, each at least 40 px and not more than 8000 px (maximum 8000 x 3125 px).
- Select Create new design.
Expected result: a blank design opens in the editor, by default in a new browser tab (change it under Link opening in Settings).
My take
Pick the size before you start designing. Free accounts cannot use Magic Resize, so a wrong size on Free means rebuilding the design. For a first social post I would start from a template already in that format.
Step 3: Add and Edit Text
Text goes on the page from the editor itself, and the Text tab in the side panel holds Canva’s pre-set font combinations:
- On the page, type / for the Canva Assistant shortcut, or use the plus icon beside the cursor.
- Search a style such as Title, Heading or Body and pick it.
- Double-click the text box, type your headline, and click outside the box to finish.
- To change the font, select the text, select the font name on the toolbar, and pick a font.
- To change the size, select the text, select Font size on the toolbar, and choose a size or enter a value.
- To wrap long lines, drag the white pill handles left or right; this changes the box width, not the font size.
Expected result: your headline sits on the page in its own text box, in the font and size you chose.
Text won’t flow from one text box into the next, so a long caption needs one wide box. Uploading your own fonts needs Canva Pro or Canva Business (Education and Nonprofits include it too), which makes a brand font a paid-plan task.
Step 4: Add Images and Elements From Canva’s Library
Canva’s own images and graphics come from the Elements tab:
- In the editor, select Elements.
- Use the Search elements bar, or browse the categories.
- Select an image to add it to your design.
To swap a template photo, select it, select Replace on the editor toolbar, and pick an image in the Uploads or Photos tab.
Expected result: the image sits on your page, ready to move or replace.
Step 5: Upload Your Own Photos and Logo
Your own files enter through the Uploads tab:
- Select the Uploads tab.
- Select Upload files, or drag files from your computer into the tab.
- Select an upload to add it to your design.
Expected result: the file appears in the Uploads tab and on your page; all uploads also sit in the Uploads folder under Projects.
Only you can access your uploads; to share them with a team, put them in a folder and share the folder. Free includes up to 5 GB of media, and Canva offers no way to check how much is left.
Step 6: Resize the Design for Another Format
On a paid plan, Magic Resize turns one design into copies at other sizes; on Canva Free, make the second size as a new design (Step 2). Magic Resize covers the Pro, Business, Enterprise, Education, Higher education, Nonprofits and Teams plan types.
- From the editor menu bar, select Resize.
- Pick suggested sizes or Browse by category; you can choose several.
- For your own measurements, select Custom size.
- Select Copy & resize.
Expected result: the copy appears in the same folder as the original; several sizes go into a new folder named on the confirmation message.
Warning
Resize this design resizes the design you have open instead of making a copy, so the original layout changes. Choose Copy & resize whenever the original must stay as it is.
Step 7: Share the Design for Feedback
Share with the narrowest permission that gets you useful feedback:
- In the original design, remove any hidden pages, presenter notes and cropped content you don’t want seen, then make a copy of the design and open the copy; the copy won’t include earlier revisions.
- Select Share from the menu bar above the editor.
- Under Access level, change Only you can access (the default) to Anyone with the link.
- On the other dropdown, pick can edit, comment, or view.
- Select Copy link.
To invite specific people, enter their emails under People with access, choose the permission, and select Share.
Expected result: Canva generates a short link at the access level you chose, and the design shows profile pictures of who can open it.
Warning
An edit link lets anyone change your design without signing in; these guests appear with animal pictures. Send a comment or view link for feedback. A public link can also expose hidden content, cropped content, presenter notes and earlier revisions, which is why action 1 shares a cleaned copy.
Step 8: Download Your Finished Design
The finished file comes from the same Share menu:
- Go to Share, then select Download.
- Choose a file type and adjust its settings, such as Size or Limit size (JPG and PNG only).
- For a multi-page design, choose All, This Page or Custom.
- Select Download.
Expected result: the file saves to your device in the type you chose.
A payment request here means the design holds premium or Pro elements. On Free you can buy a Pro Content License, upgrade, or download a watermarked draft; Pro, Teams, Business, Education and Nonprofits plans include those licenses. On Free, a watermarked draft is enough for a proof you send for approval, while a file you publish needs the license or a paid plan.
How to Verify Your Design Is Ready
Your design is ready when the downloaded file and the Share panel both match what you chose:
Before you post or print
- The file opens in the type you picked in Download
- A multi-page design has the pages you chose: All, This Page or Custom
- The image matches the Step 2 size, within 40 x 40 to 8000 x 3125 px
- No watermark appears; one means premium elements remain
- The Share panel shows the access level you meant; no profile pictures means private to you
- The design and its uploads appear under Projects
How to Use Canva Free: What It Covers and Where a Paid Plan Starts
Canva Free covers Steps 1 to 5, 7 and 8; Magic Resize is the one step that needs a paid plan, and a few options inside other steps do too:
| Action in this guide | Canva Free | Paid plans |
|---|---|---|
| Magic Resize (Step 6) | Not on Free | Pro, Business, Enterprise, Education, Higher education, Nonprofits, Teams; counts against the monthly AI usage limit |
| Templates and stock library (Steps 2, 4) | 1.6+ million templates; 4.7+ million stock items | 3.6+ million templates; 141+ million stock items on Pro and up |
| Upload storage (Step 5) | Up to 5 GB | Pro up to 100 GB; Business up to 500 GB |
| Upload your own fonts (Step 3) | Not on Free | Pro or Business; also Education and Nonprofits |
| Premium elements (Step 8) | License, upgrade, or watermarked draft | Licenses included on Pro, Teams, Business, Education, Nonprofits |
| Transparent background, SVG, bulk or CMYK PDF download (Step 8) | Not on Free | Pro, Teams, Business, Education, Nonprofits |
| Template link (Step 7) | Not on Free | Pro, Teams, Enterprise, Education, Nonprofits |
| Invite people to your team while sharing (Step 7) | – | Not on Pro; Business can |
Sources: Canva Magic Resize help, Canva pricing page, Canva upload help, Canva text box help, Canva download help, Canva sharing help, Canva collaboration help, checked Nov 2026.
My take
Stay on Free if your designs are single-size posts built from your own photos. A paid plan is worth it when you publish one design in several formats each week, need transparent PNG or SVG logos, or keep hitting premium elements at download. Pick Business over Pro if you want to invite colleagues while sharing.
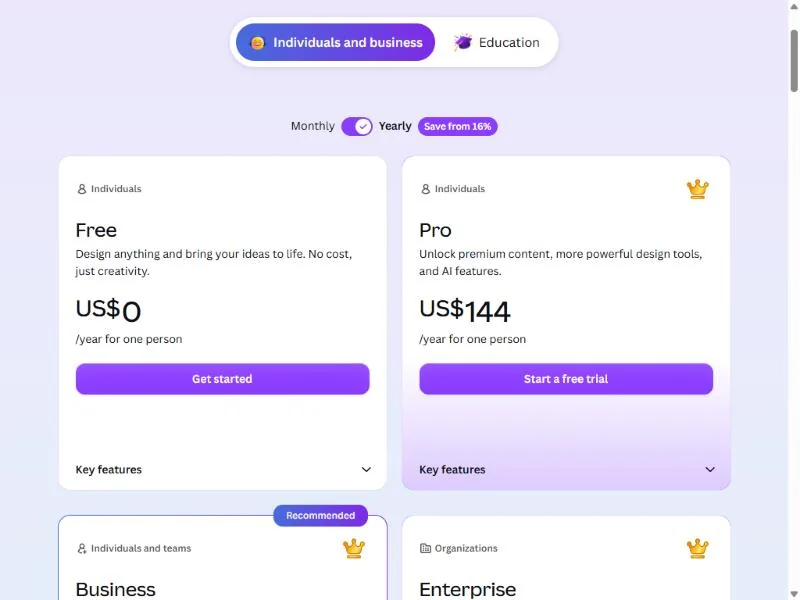
Canva offers a free trial of Canva Pro or Canva Business, so you can test the gated steps first; what each plan costs is in my guide to Canva pricing and plans.
Practical Example: A Workshop Flyer and Its Square Post
Take an illustrative job on Canva Free: a flyer for a Saturday pottery workshop and a square post announcing it. Every value below is an invented input inside Canva’s published limits.
| Input | Illustrative value | Step |
|---|---|---|
| Starting point | A flyer template found by searching “flyer” | Step 2 |
| Second format | Custom size, 1080 x 1080 px | Step 2 |
| Headline | “Saturday Pottery Workshop, 10 a.m.” | Step 3 |
| Images | A studio photo and a logo PNG, uploaded | Step 5 |
| Share setting | Anyone with the link, can comment | Step 7 |
| File types | PDF for the flyer, PNG for the post | Step 8 |
Sources: illustrative inputs; size limits from Canva’s design-from-scratch help, checked Nov 2026.
On Free, the square post is a second design: a 1080 x 1080 px custom size with the same headline and the photo and the logo placed again from the Uploads tab. On Pro or higher, Resize, Custom size and Copy & resize would make it from the flyer instead.
Common Mistakes
Six choices cause most first-design problems:
- Signing in with a second Google account, which creates a new, empty Canva account. Keep one sign-in method.
- Typing a custom size outside 40 to 8000 px, which turns the fields red. Stay inside the limits.
- Choosing Resize this design, which changes the open design. Use Copy & resize.
- Sending an edit link for feedback, which lets anyone edit without signing in. Send comment or view.
- Sharing publicly without cleaning the design, which can expose hidden pages, notes and old revisions. Share a cleaned copy.
- Building around premium elements on Free, which surfaces a payment prompt when you download. A design with premium or Pro elements triggers that prompt. On Free you can buy a Pro Content license, move to a paid plan, or save a watermarked draft, so budget for the license or swap that image (Step 4).
Troubleshooting
Most blocks trace back to a limit Canva documents:
| Problem | Possible cause | What to check |
|---|---|---|
| Download button says Fix (number) issue | A daily download limit, or a file still uploading | Open it, fix the issue, then select Download again |
| Asked to pay before downloading | Premium or Pro elements | Buy a Pro Content License, upgrade, or take a watermarked draft |
| Upgrade prompt on an MP4 download | MP4 quality changed from the default 1080p on Free | Set it back to 1080p |
| Custom size fields turn red | A side under 40 px or over 8000 px, or above 8000 x 3125 px | Enter a size inside the limits |
| No Upload media button | Team restrictions | Ask your Team Admin to lift them |
| Cannot find Resize | Magic Resize is not on Free | Make a new design at the second size |
Sources: Canva download help, Canva design-from-scratch help, Canva upload help, Canva Magic Resize help, checked Nov 2026.
How I Verified These Steps
Every button and setting named here comes from Canva Help Center pages I read on November 7, 2026:
- Step 1: account sign-up
- Steps 2 and 3: design from scratch and video and template editing
- Step 3: adding text, text formatting and text boxes
- Steps 4 and 5: adding images and uploads
- Steps 6 to 8: resizing, sharing, collaboration and downloads
Canva changes its screens (designs now open in a new tab by default), so if a label no longer matches, the help page for that step holds the current wording.
FAQ
Is Canva difficult to learn?
Canva’s beginner guide says the editor is built to “help you explore and experiment with design tools at your own pace.” The steps above use three editor tabs (Text, Elements, Uploads) and the Share menu, so pick a template for your first design if a blank page feels slow.
What do people mostly use Canva for?
Social posts, presentations, video and print pieces such as flyers: Canva’s plan comparison lists social sharing, presentation modes, print-ready CMYK exports and video among its features. Canva publishes no figures on which of these people make most.
Can I use Canva on my phone?
Yes. The Canva app runs on iOS and Android, and on mobile you can start a design from a camera-roll photo. Folder uploads are not available on mobile, so upload large sets from a computer.
Is there a Canva version for students?
Yes, for K-12 students. Canva Education is free for K-12 teachers, their students and qualified schools, and a primary or secondary student joins when a teacher invites them from a Canva Education account. It includes Magic Resize and font uploads. Students outside K-12 can start on Canva Free with the steps above.
My take
Start your first design in a desktop browser if it uses many of your own photos, since folder uploads are not available on mobile. The phone app is worth it for quick designs built from a camera-roll photo.
Next Steps
Pick the next page by what you need:
- To compare Canva with other tools before you commit, see my ranking of the best graphic design software.
- To see what Canva’s AI tools do and where they stop, read my Canva AI review.
- To build slide decks, compare the free AI presentation makers on my shortlist.